Batguy Saw Trap

Batguy Saw Trap

Приключение
  • Платформа:Android
  • Версия:1.0.48
  • Размер:22.7 MB
  • Разработчик:Mazniac
2.7
Описание

Чтобы помочь Batguy спасти Batlady из лап зла, следуйте этим шагам внимательно. Помните, Batguy должен ориентироваться в серии сложных головоломок и ловушек, установленных Jigtrap, чтобы добраться до Батлади и благополучно вернуть ее.

Шаг 1: Войдите в логово

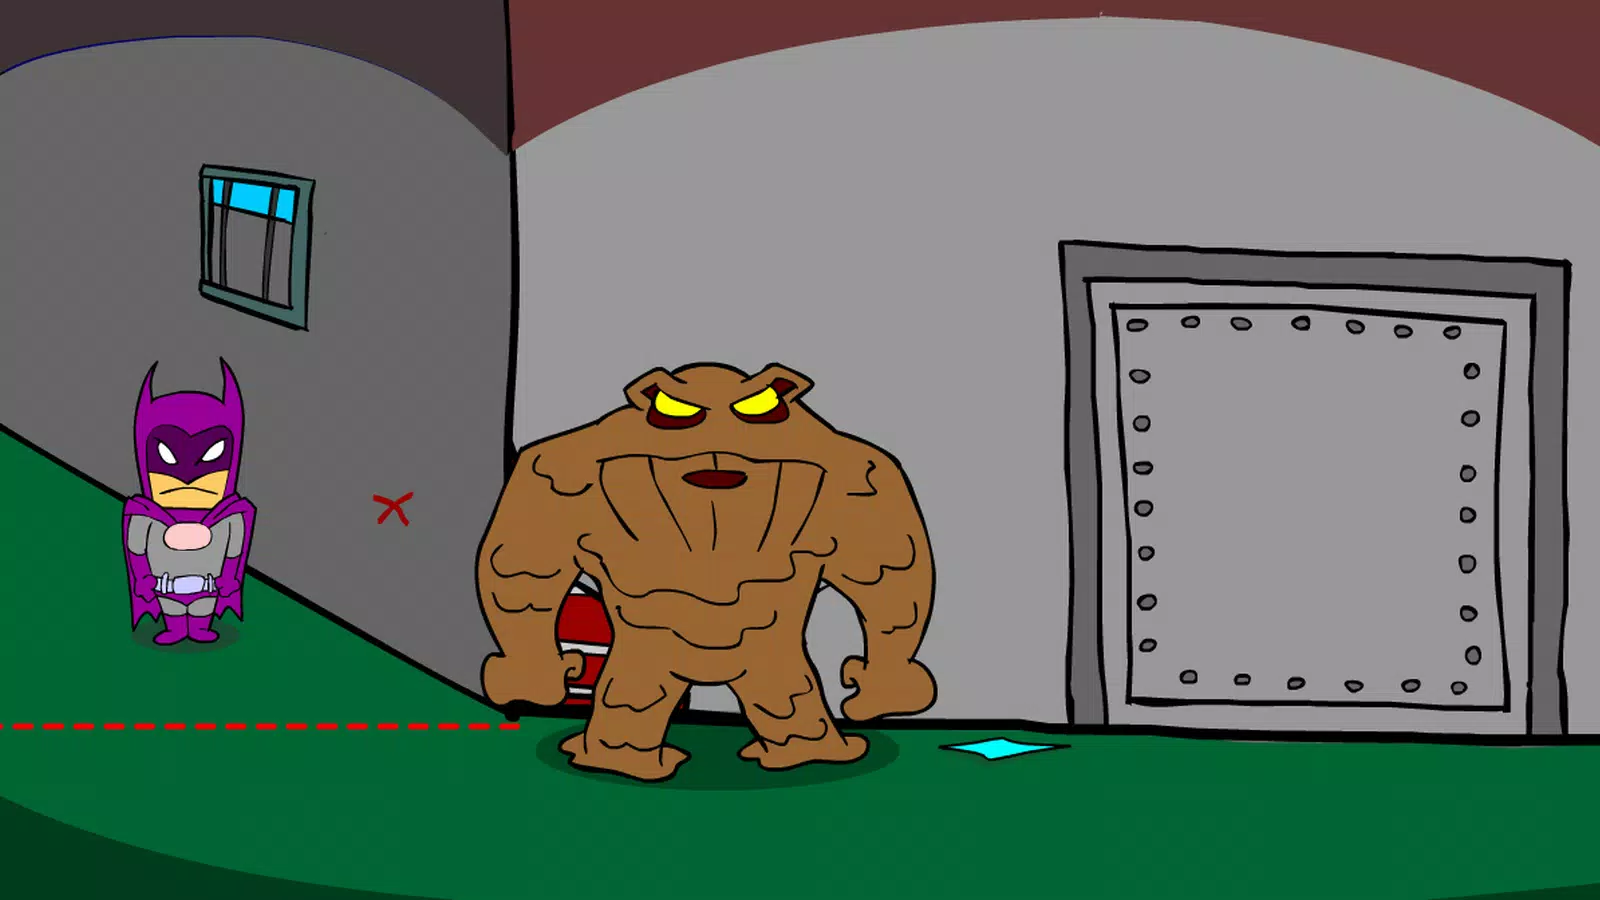
Batguy должен сначала найти секретный вход в логово Джигтрап. Ищите подсказки по всему городу, которые могут намекнуть на это место. Он может быть спрятан за ложной стеной в заброшенном здании или доступно через крышку люка в уединенном переулке. Оказавшись внутри, Batguy нужно будет решить серию головоломков, чтобы продолжить.

Шаг 2: Решите начальную головоломку

Первая головоломка Batguy Encounters - это классическая загадка скользящей плитки. Цель состоит в том, чтобы изменить плитки, чтобы сформировать картину Бэтлади. Вот как это решить:

  1. Определите пустое пространство : используйте это пространство, чтобы перемещать плитки вокруг.
  2. Переместите плитку по порядку : начните с перемещения верхней левой плитки на место, затем пройдите вниз и через головоломку.
  3. Будьте терпеливы : это может занять несколько ходов, но продолжайте, пока изображение не будет завершено.

После того, как головоломка будет решена, откроется дверь, ведущая Batguy глубже в логово.

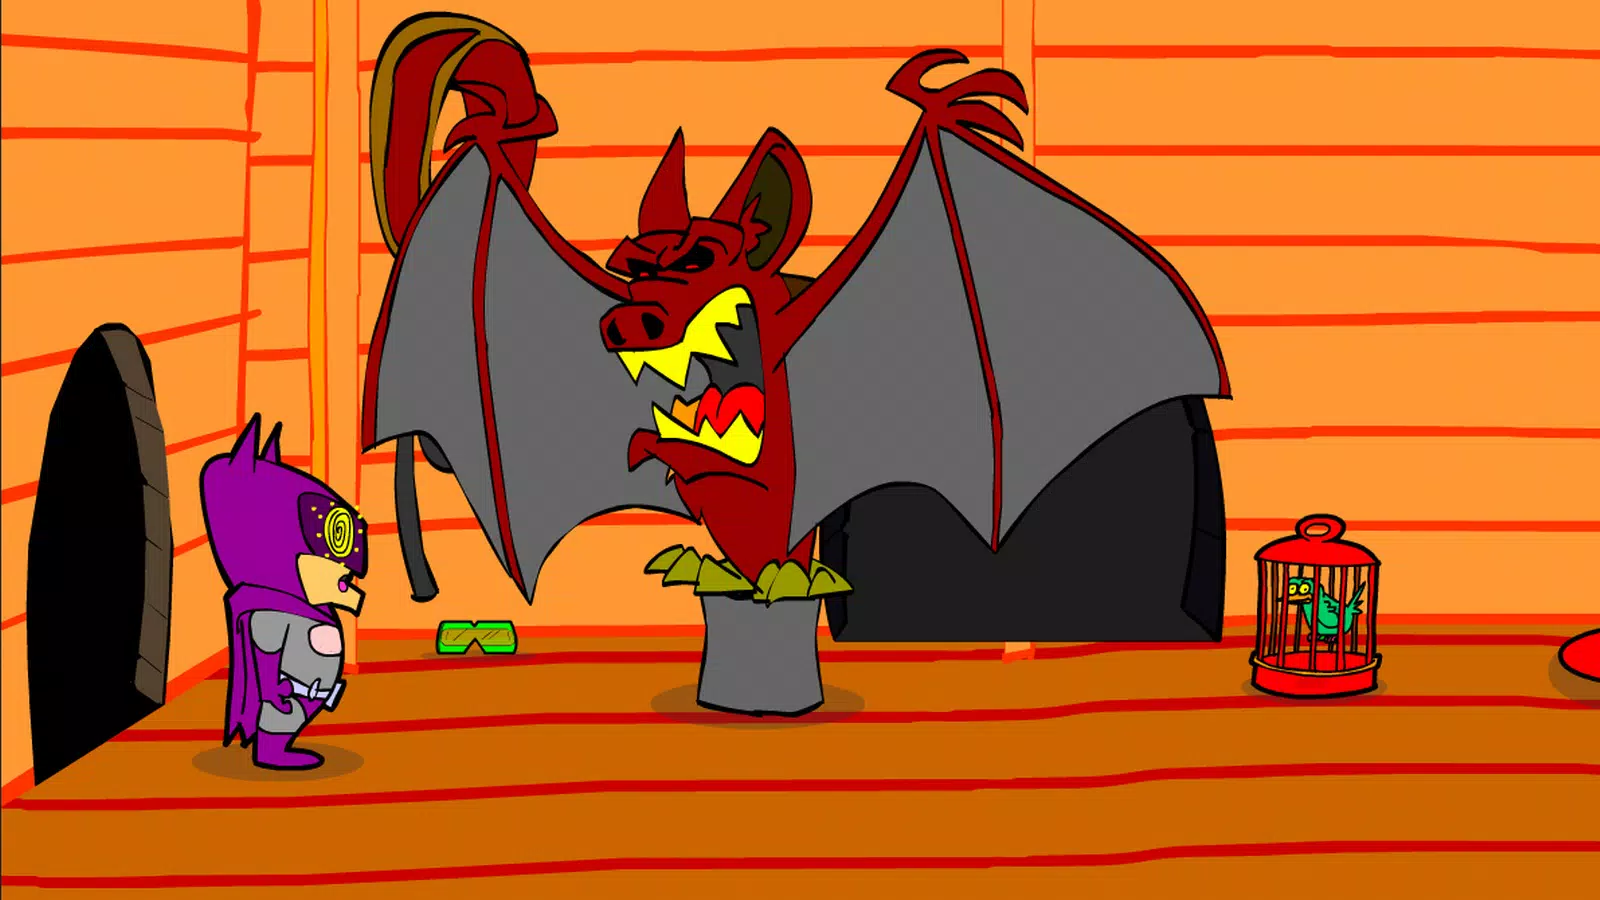
Шаг 3: Навигация по лазерному лабиринту

Затем Batguy должен ориентироваться в лазерном лабиринте. Ключ здесь - точность и время. Вот что делать:

  1. Соблюдайте рисунок : внимательно следите за лазерами, чтобы понять их движение.
  2. Двигайтесь, когда в безопасности : дождитесь подходящего момента, чтобы перемещаться между лучами, не попав в удар.
  3. Используйте гаджеты : если таковые имеются, используйте гаджеты Batguy, такие как дымовые бомбы, чтобы временно скрывать лазеры.

Успешно навигация по лабиринту предоставит доступ к следующей области.

Шаг 4: Решите комбинацию блокировки

Затем Batguy сталкивается с комбинированной блокировкой, которая требует определенной последовательности чисел для открытия. Подсказки к комбинации разбросаны по комнате. Вот как это взломать:

  1. Найдите подсказки : ищите цифры, написанные на стенах, спрятанные в книгах или закодированные в сообщениях.
  2. Декодировать последовательность : числа, возможно, должны быть перестановлены на основе дополнительных подсказок, таких как загадка или рисунка.
  3. Введите код : как только вы получите последовательность, введите его в блокировку, чтобы открыть дверь.

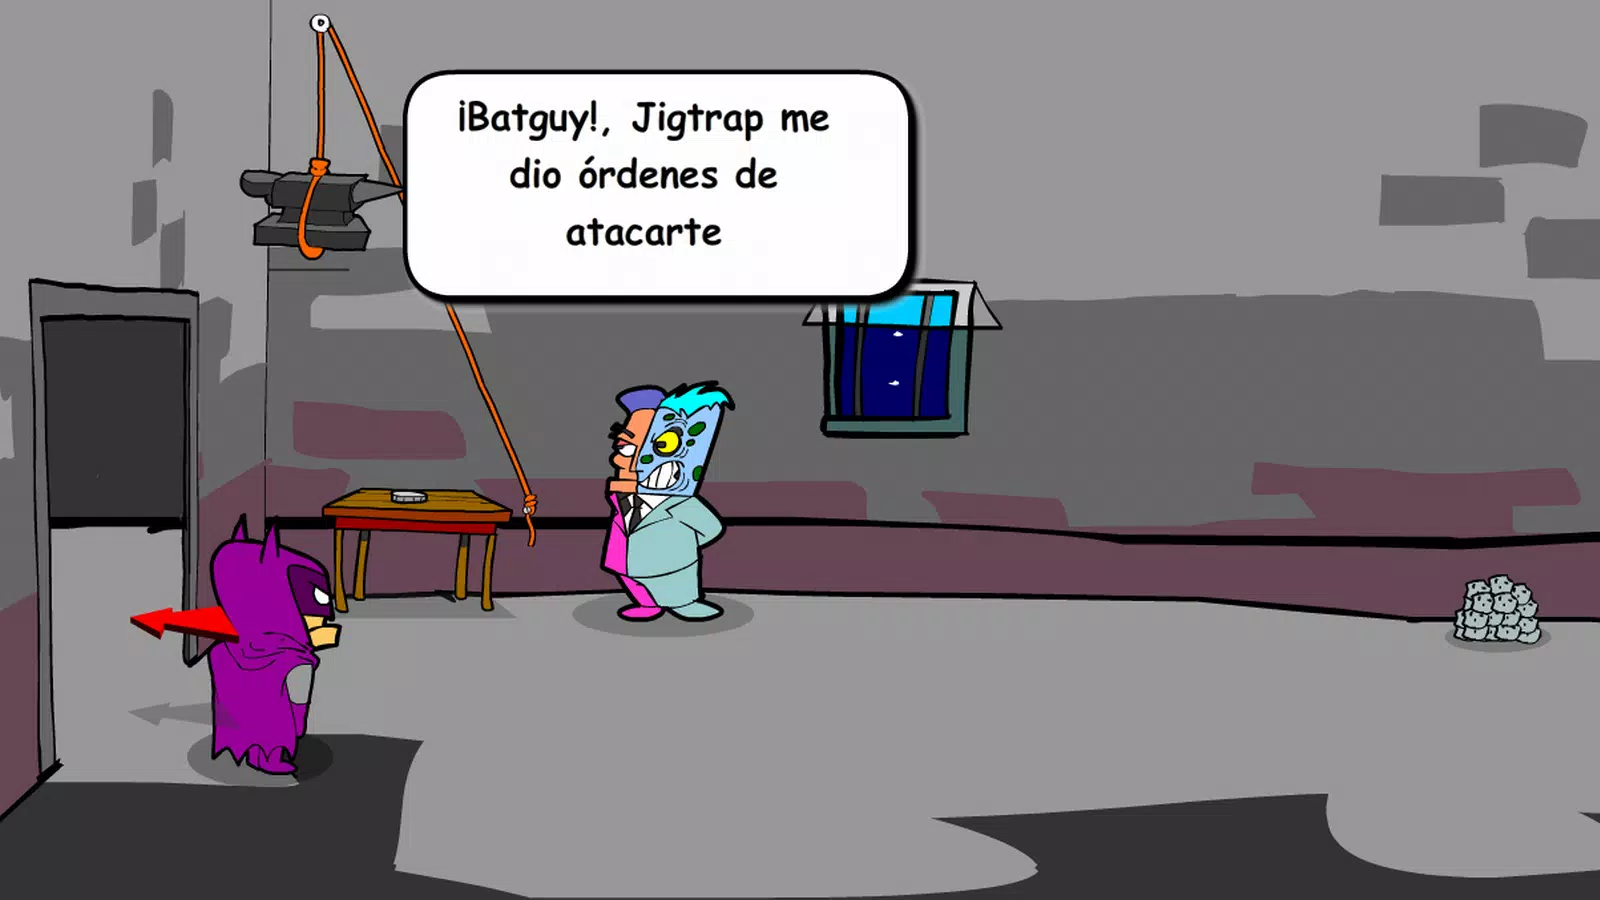
Шаг 5: Столкните джигтрап

Наконец, Batguy достигает управления Jigtrap, где удерживается Бэтлади. Здесь Batguy должен противостоять Jigtrap напрямую:

  1. Переговоры : Попробуйте рассуждать с Jigtrap, чтобы мирно выпустить Batlady.
  2. Используйте Stealth : если переговоры не пройдут, используйте способности Stealth от Batguy, чтобы освободить Батладию без запуска каких -либо ловушек.
  3. При необходимости сражайтесь : как последнее средство, задейтесь в бою. Используйте боевые навыки Batguy и гаджеты, чтобы одолеть джигтрап и обеспечить безопасность Батлади.

Шаг 6: Побег из логова

С Бэтлади Фрид, Батгуей должен теперь избежать логова. Путь может отличаться от пути, так что будь бдительность:

  1. Следуйте по новому маршруту : ищите знаки или карты, которые Jigtrap мог бы оставить как часть его игры.
  2. Избегайте ловушек : будьте осторожны с любыми оставшимися ловушками или препятствиями, которые мог бы настроить джигтрап.
  3. Достигните выхода : однажды снаружи убедитесь, что Batlady в целости и сохранности.

Следуя этим шагам и используя навыки Батги и мудро, он должен быть в состоянии спасти Батлади от сцеплениями Джигтрапа и вернуть ее в безопасное место.

Теги : Приключение

Batguy Saw Trap скриншотов
  • Batguy Saw Trap Скриншот 0
  • Batguy Saw Trap Скриншот 1
  • Batguy Saw Trap Скриншот 2
  • Batguy Saw Trap Скриншот 3
Последние статьи
Q spam) ATK%: 60%+ (for damage scaling) CRIT Rate: 60%+ (for burst consistency) CRIT DMG: 100%+ (for burst burst) Sands: Energy Recharge (ER%) Goblet: Pyro DMG% Circlet: CRIT Rate (if high, else CRIT DMG) Artifact Set: Flower of Paradise (4pc) or Emblem of Severed Fate (4pc) (for Melt/Vaporize) 🔥 Aura Note: Klee’s Melt aura (via Dendro + Pyro) deals massive burst damage. The Melt reaction doubles damage — her best aura is Melt. 2. Nahida (Dendro Support / Field Control) Substats: EM (Elemental Mastery): 200%+ (for Bloom / Hyperbloom potential) ER: 100%+ (for consistent E usage) ATK%: 40%+ (for damage on E) HP%: 40%+ (for survivability and healing) Sands: Elemental Mastery (EM) Goblet: Dendro DMG% Circlet: CRIT Rate (if EM is maxed, else CRIT DMG) Artifact Set: Nymph’s Dream (4pc) (for EM boost) or Fervent Flames (2pc) + Dendro (2pc) 🌿 Aura Note: Nahida’s Dendro Application triggers Bloom, Hyperbloom, or Sustained Bloom. Her aura is "Dendro Bloom", which boosts team DMG and enables reactive damage. 3. Xingqiu (Hydro Sub-DPS / Support) Substats: ER: 100%+ (for fast E usage) ATK%: 60%+ CRIT Rate: 60%+ (for consistent E hits) CRIT DMG: 100%+ Sands: Energy Recharge (ER%) Goblet: Hydro DMG% Circlet: CRIT Rate or CRIT DMG Artifact Set: 4pc Husk of Opulent Dreams (hybrid support) or 1pc + 3pc (for EM boost) 💧 Aura Note: Xingqiu’s Hydro Application enables Electro-Charged, Vaporize, or Frozen. His aura is "Hydro Field", which builds energy and buffs team. 4. Tighnari / Kazuha (Support / Enabler) Tighnari (if using Dendro support): Substats: EM, ER, ATK%, CRIT Sands: EM Goblet: Dendro DMG% Circlet: CRIT Rate Set: 2pc Dendro + 2pc Troupe of Purifying Light (or Nymph’s Dream) Kazuha (Anemo Enabler): Substats: ER, ATK%, CRIT Sands: ER Goblet: Anemo DMG% Circlet: CRIT Rate Set: 4pc Overworld (Anemo) or Crimson Witch (if supporting Pyro) 🌬️ Aura Note: Anemo's "Wind Aura" enables swirls, damage amplification, and reactions. Kazuha’s Dendro Swirl enhances Klee’s Melt. 🔮 Elemental Aura Synergy (The "Heir" Auras) Aura Elemental Reaction Effect Melt (Pyro + Cryo) ✅ 2x damage, Klee’s best aura Vaporize (Pyro + Hydro) ✅ 2x damage, strong vs. Cryo Electro-Charged (Electro + Hydro) ✅ 2x damage, sustained DPS Bloom / Hyperbloom (Dendro + Electro/Hydro) ✅ 3x damage, team-wide burst Overloaded (Pyro + Electro) ✅ 2x damage, AoE, strong vs. single target 💡 Pro Tip: Use Nahida + Klee + Xingqiu + Kazuha for Hyperbloom → Melt synergy. 🧠 Advanced Tips for Chosen Heirs Stack Elemental Mastery (EM) on Nahida and Tighnari → boosts Bloom, Hyperbloom, and Vaporize. Use 100% ER on all characters → ensures non-stop energy generation and DPS uptime. Prioritize Energy Recharge for front-line DPS → Klee needs 200% ER for E -> Q spam. Use 4pc Flower of Paradise on Klee for Melt and Vaporize boost. Team Buffs: Have Nahida on field for Dendro application, Klee for Melt, Xingqiu for Hydro, and Kazuha for Anemo swirls. 🏆 Endgame Performance (Abyss 100+ Floors) Best Floor: 100–120 (with full team optimization) DPS Output: 80k–120k+ per burst Survivability: High (via Nahida’s heal, Klee’s E, and Xingqiu’s shield) Energy Management: Fully sustainable with 100% ER on all members ✨ Final Words: The Heir’s Legacy "The Abyss does not fear death — it fears stagnation. The Chosen Heirs are those who rise again, not from flame, but from the silence between sparks." This team isn’t just about power — it’s about synergy, aura, and continual evolution. With Melt, Hyperbloom, and Vaporize as core auras, and ER, EM, and CRIT as pillars, your Abyss’s Chosen Heirs will dominate the deep rifts of Teyvat. 🔚 Summary: Must-Haves for Your Heir Team Requirement How to Achieve Melt Aura Klee + Cryo (e.g., Raiden, Zhongli, Ganyu) Hyperbloom Aura Nahida + Dendro + Electro/Hydro Sustained ER 100%+ on all characters High EM 200–300 EM on Nahida/Tighnari Max CRIT 60%+ Rate, 100%+ DMG on DPS Let the Abyss guide your destiny. You are not just strong — you are reborn. 🔥 Abyss's Chosen Heirs — Forged in Fire, Unleashed in Silence. 🔥 Let me know if you want: A specific build (e.g., Klee + Nahida + Xingqiu + Kazuha) A 4pc artifact list A video guide recommendation Or a custom team for 100+ floor runs Welcome to the Heirs. 🌑" > Certainly! Here's a comprehensive Stat and Aura Guide for Abyss's Chosen Heirs — a powerful and thematic build centered around the Abyssal (or Void-themed) characters in Genshin Impact, such as Klee, Nahida, Tighnari, Xingqiu, Yanfei, Sangonomiya Kokomi, and potentially Cyno or Yae Miko depending on team composition. While Q spam) ATK%: 60%+ (for damage scaling) CRIT Rate: 60%+ (for burst consistency) CRIT DMG: 100%+ (for burst burst) Sands: Energy Recharge (ER%) Goblet: Pyro DMG% Circlet: CRIT Rate (if high, else CRIT DMG) Artifact Set: Flower of Paradise (4pc) or Emblem of Severed Fate (4pc) (for Melt/Vaporize) 🔥 Aura Note: Klee’s Melt aura (via Dendro + Pyro) deals massive burst damage. The Melt reaction doubles damage — her best aura is Melt. 2. Nahida (Dendro Support / Field Control) Substats: EM (Elemental Mastery): 200%+ (for Bloom / Hyperbloom potential) ER: 100%+ (for consistent E usage) ATK%: 40%+ (for damage on E) HP%: 40%+ (for survivability and healing) Sands: Elemental Mastery (EM) Goblet: Dendro DMG% Circlet: CRIT Rate (if EM is maxed, else CRIT DMG) Artifact Set: Nymph’s Dream (4pc) (for EM boost) or Fervent Flames (2pc) + Dendro (2pc) 🌿 Aura Note: Nahida’s Dendro Application triggers Bloom, Hyperbloom, or Sustained Bloom. Her aura is "Dendro Bloom", which boosts team DMG and enables reactive damage. 3. Xingqiu (Hydro Sub-DPS / Support) Substats: ER: 100%+ (for fast E usage) ATK%: 60%+ CRIT Rate: 60%+ (for consistent E hits) CRIT DMG: 100%+ Sands: Energy Recharge (ER%) Goblet: Hydro DMG% Circlet: CRIT Rate or CRIT DMG Artifact Set: 4pc Husk of Opulent Dreams (hybrid support) or 1pc + 3pc (for EM boost) 💧 Aura Note: Xingqiu’s Hydro Application enables Electro-Charged, Vaporize, or Frozen. His aura is "Hydro Field", which builds energy and buffs team. 4. Tighnari / Kazuha (Support / Enabler) Tighnari (if using Dendro support): Substats: EM, ER, ATK%, CRIT Sands: EM Goblet: Dendro DMG% Circlet: CRIT Rate Set: 2pc Dendro + 2pc Troupe of Purifying Light (or Nymph’s Dream) Kazuha (Anemo Enabler): Substats: ER, ATK%, CRIT Sands: ER Goblet: Anemo DMG% Circlet: CRIT Rate Set: 4pc Overworld (Anemo) or Crimson Witch (if supporting Pyro) 🌬️ Aura Note: Anemo's "Wind Aura" enables swirls, damage amplification, and reactions. Kazuha’s Dendro Swirl enhances Klee’s Melt. 🔮 Elemental Aura Synergy (The "Heir" Auras) Aura Elemental Reaction Effect Melt (Pyro + Cryo) ✅ 2x damage, Klee’s best aura Vaporize (Pyro + Hydro) ✅ 2x damage, strong vs. Cryo Electro-Charged (Electro + Hydro) ✅ 2x damage, sustained DPS Bloom / Hyperbloom (Dendro + Electro/Hydro) ✅ 3x damage, team-wide burst Overloaded (Pyro + Electro) ✅ 2x damage, AoE, strong vs. single target 💡 Pro Tip: Use Nahida + Klee + Xingqiu + Kazuha for Hyperbloom → Melt synergy. 🧠 Advanced Tips for Chosen Heirs Stack Elemental Mastery (EM) on Nahida and Tighnari → boosts Bloom, Hyperbloom, and Vaporize. Use 100% ER on all characters → ensures non-stop energy generation and DPS uptime. Prioritize Energy Recharge for front-line DPS → Klee needs 200% ER for E -> Q spam. Use 4pc Flower of Paradise on Klee for Melt and Vaporize boost. Team Buffs: Have Nahida on field for Dendro application, Klee for Melt, Xingqiu for Hydro, and Kazuha for Anemo swirls. 🏆 Endgame Performance (Abyss 100+ Floors) Best Floor: 100–120 (with full team optimization) DPS Output: 80k–120k+ per burst Survivability: High (via Nahida’s heal, Klee’s E, and Xingqiu’s shield) Energy Management: Fully sustainable with 100% ER on all members ✨ Final Words: The Heir’s Legacy "The Abyss does not fear death — it fears stagnation. The Chosen Heirs are those who rise again, not from flame, but from the silence between sparks." This team isn’t just about power — it’s about synergy, aura, and continual evolution. With Melt, Hyperbloom, and Vaporize as core auras, and ER, EM, and CRIT as pillars, your Abyss’s Chosen Heirs will dominate the deep rifts of Teyvat. 🔚 Summary: Must-Haves for Your Heir Team Requirement How to Achieve Melt Aura Klee + Cryo (e.g., Raiden, Zhongli, Ganyu) Hyperbloom Aura Nahida + Dendro + Electro/Hydro Sustained ER 100%+ on all characters High EM 200–300 EM on Nahida/Tighnari Max CRIT 60%+ Rate, 100%+ DMG on DPS Let the Abyss guide your destiny. You are not just strong — you are reborn. 🔥 Abyss's Chosen Heirs — Forged in Fire, Unleashed in Silence. 🔥 Let me know if you want: A specific build (e.g., Klee + Nahida + Xingqiu + Kazuha) A 4pc artifact list A video guide recommendation Or a custom team for 100+ floor runs Welcome to the Heirs. 🌑" onerror="this.onerror='';this.src='/assets/images/morentu/200-200.png'" uk-cover>