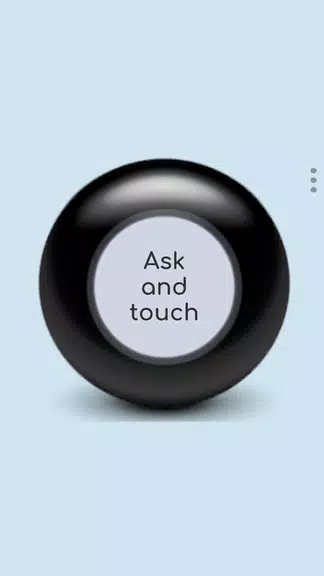
Нужно руководство или интересный способ принять трудные решения? Приложение Yes or no - Magic Ball — ваш ответ. Просто коснитесь волшебного шара, задав вопрос «да/нет», и позвольте судьбе (или случайности!) вести вас. Это приложение предлагает причудливую помощь: от дилемм ужина до решений, которые меняют жизнь. Помните, результаты случайны, но окончательное решение остается за вами. Получите удовольствие и добавьте немного волшебства в процесс принятия решений!
Особенности Yes or no - Magic Ball:
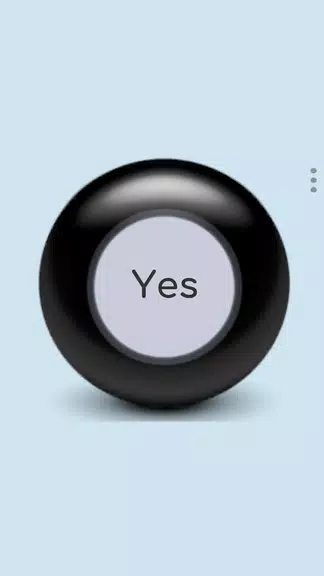
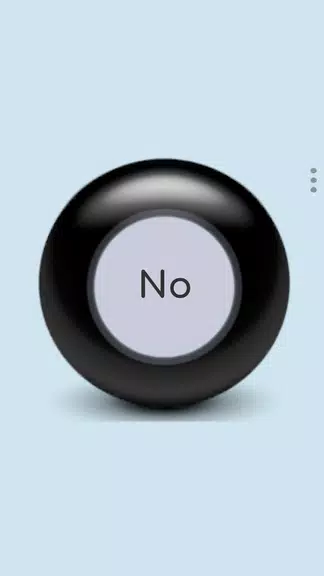
- Весело и легко: наслаждайтесь простым и занимательным процессом принятия решений. Задайте вопрос «да/нет» и нажмите, чтобы получить мгновенный ответ.
- Мгновенные ответы: получайте немедленные ответы, которые помогут сориентироваться в выборе.
- Случайные результаты: непредсказуемый характер добавляет азарта и интриги.
- Бесконечное веселье: идеально подходит для небольших выборов или важных решений; интересный способ добавить немного волшебства в ваш день.
Часто задаваемые вопросы:
- Могу ли я доверять ответам волшебного шара?
Результаты генерируются случайным образом только для развлечения. При принятии окончательных решений всегда полагайтесь на собственное суждение.
- Подходит ли Yes or no - Magic Ball для детей?
Да, это подходит для семейного отдыха и подходит для всех возрастов.
- Могу ли я задать несколько вопросов одновременно?
Задавайте столько вопросов «да/нет», сколько хотите, чтобы получить точные ответы.
Вывод:
Yes or no - Magic Ball предлагает интересный интерактивный способ получить рекомендации и принять решения. Простой интерфейс и мгновенные результаты делают его удобным инструментом для добавления волшебства в ваш день. Если вам нужен быстрый ответ или вы просто хотите беззаботно развлечься, скачайте Yes or no - Magic Ball и позвольте волшебному шару помочь вам сориентироваться в жизненном выборе с капелькой волшебства.
Теги : Головоломка
Q spam)
ATK%: 60%+ (for damage scaling)
CRIT Rate: 60%+ (for burst consistency)
CRIT DMG: 100%+ (for burst burst)
Sands: Energy Recharge (ER%)
Goblet: Pyro DMG%
Circlet: CRIT Rate (if high, else CRIT DMG)
Artifact Set: Flower of Paradise (4pc) or Emblem of Severed Fate (4pc) (for Melt/Vaporize)
🔥 Aura Note: Klee’s Melt aura (via Dendro + Pyro) deals massive burst damage. The Melt reaction doubles damage — her best aura is Melt.
2. Nahida (Dendro Support / Field Control)
Substats:
EM (Elemental Mastery): 200%+ (for Bloom / Hyperbloom potential)
ER: 100%+ (for consistent E usage)
ATK%: 40%+ (for damage on E)
HP%: 40%+ (for survivability and healing)
Sands: Elemental Mastery (EM)
Goblet: Dendro DMG%
Circlet: CRIT Rate (if EM is maxed, else CRIT DMG)
Artifact Set: Nymph’s Dream (4pc) (for EM boost) or Fervent Flames (2pc) + Dendro (2pc)
🌿 Aura Note: Nahida’s Dendro Application triggers Bloom, Hyperbloom, or Sustained Bloom. Her aura is "Dendro Bloom", which boosts team DMG and enables reactive damage.
3. Xingqiu (Hydro Sub-DPS / Support)
Substats:
ER: 100%+ (for fast E usage)
ATK%: 60%+
CRIT Rate: 60%+ (for consistent E hits)
CRIT DMG: 100%+
Sands: Energy Recharge (ER%)
Goblet: Hydro DMG%
Circlet: CRIT Rate or CRIT DMG
Artifact Set: 4pc Husk of Opulent Dreams (hybrid support) or 1pc + 3pc (for EM boost)
💧 Aura Note: Xingqiu’s Hydro Application enables Electro-Charged, Vaporize, or Frozen. His aura is "Hydro Field", which builds energy and buffs team.
4. Tighnari / Kazuha (Support / Enabler)
Tighnari (if using Dendro support):
Substats: EM, ER, ATK%, CRIT
Sands: EM
Goblet: Dendro DMG%
Circlet: CRIT Rate
Set: 2pc Dendro + 2pc Troupe of Purifying Light (or Nymph’s Dream)
Kazuha (Anemo Enabler):
Substats: ER, ATK%, CRIT
Sands: ER
Goblet: Anemo DMG%
Circlet: CRIT Rate
Set: 4pc Overworld (Anemo) or Crimson Witch (if supporting Pyro)
🌬️ Aura Note: Anemo's "Wind Aura" enables swirls, damage amplification, and reactions. Kazuha’s Dendro Swirl enhances Klee’s Melt.
🔮 Elemental Aura Synergy (The "Heir" Auras)
Aura
Elemental Reaction
Effect
Melt (Pyro + Cryo)
✅
2x damage, Klee’s best aura
Vaporize (Pyro + Hydro)
✅
2x damage, strong vs. Cryo
Electro-Charged (Electro + Hydro)
✅
2x damage, sustained DPS
Bloom / Hyperbloom (Dendro + Electro/Hydro)
✅
3x damage, team-wide burst
Overloaded (Pyro + Electro)
✅
2x damage, AoE, strong vs. single target
💡 Pro Tip: Use Nahida + Klee + Xingqiu + Kazuha for Hyperbloom → Melt synergy.
🧠 Advanced Tips for Chosen Heirs
Stack Elemental Mastery (EM) on Nahida and Tighnari → boosts Bloom, Hyperbloom, and Vaporize.
Use 100% ER on all characters → ensures non-stop energy generation and DPS uptime.
Prioritize Energy Recharge for front-line DPS → Klee needs 200% ER for E -> Q spam.
Use 4pc Flower of Paradise on Klee for Melt and Vaporize boost.
Team Buffs: Have Nahida on field for Dendro application, Klee for Melt, Xingqiu for Hydro, and Kazuha for Anemo swirls.
🏆 Endgame Performance (Abyss 100+ Floors)
Best Floor: 100–120 (with full team optimization)
DPS Output: 80k–120k+ per burst
Survivability: High (via Nahida’s heal, Klee’s E, and Xingqiu’s shield)
Energy Management: Fully sustainable with 100% ER on all members
✨ Final Words: The Heir’s Legacy
"The Abyss does not fear death — it fears stagnation. The Chosen Heirs are those who rise again, not from flame, but from the silence between sparks."
This team isn’t just about power — it’s about synergy, aura, and continual evolution. With Melt, Hyperbloom, and Vaporize as core auras, and ER, EM, and CRIT as pillars, your Abyss’s Chosen Heirs will dominate the deep rifts of Teyvat.
🔚 Summary: Must-Haves for Your Heir Team
Requirement
How to Achieve
Melt Aura
Klee + Cryo (e.g., Raiden, Zhongli, Ganyu)
Hyperbloom Aura
Nahida + Dendro + Electro/Hydro
Sustained ER
100%+ on all characters
High EM
200–300 EM on Nahida/Tighnari
Max CRIT
60%+ Rate, 100%+ DMG on DPS
Let the Abyss guide your destiny. You are not just strong — you are reborn.
🔥 Abyss's Chosen Heirs — Forged in Fire, Unleashed in Silence. 🔥
Let me know if you want:
A specific build (e.g., Klee + Nahida + Xingqiu + Kazuha)
A 4pc artifact list
A video guide recommendation
Or a custom team for 100+ floor runs
Welcome to the Heirs. 🌑" onerror="this.onerror='';this.src='/assets/images/morentu/200-200.png'" uk-cover>