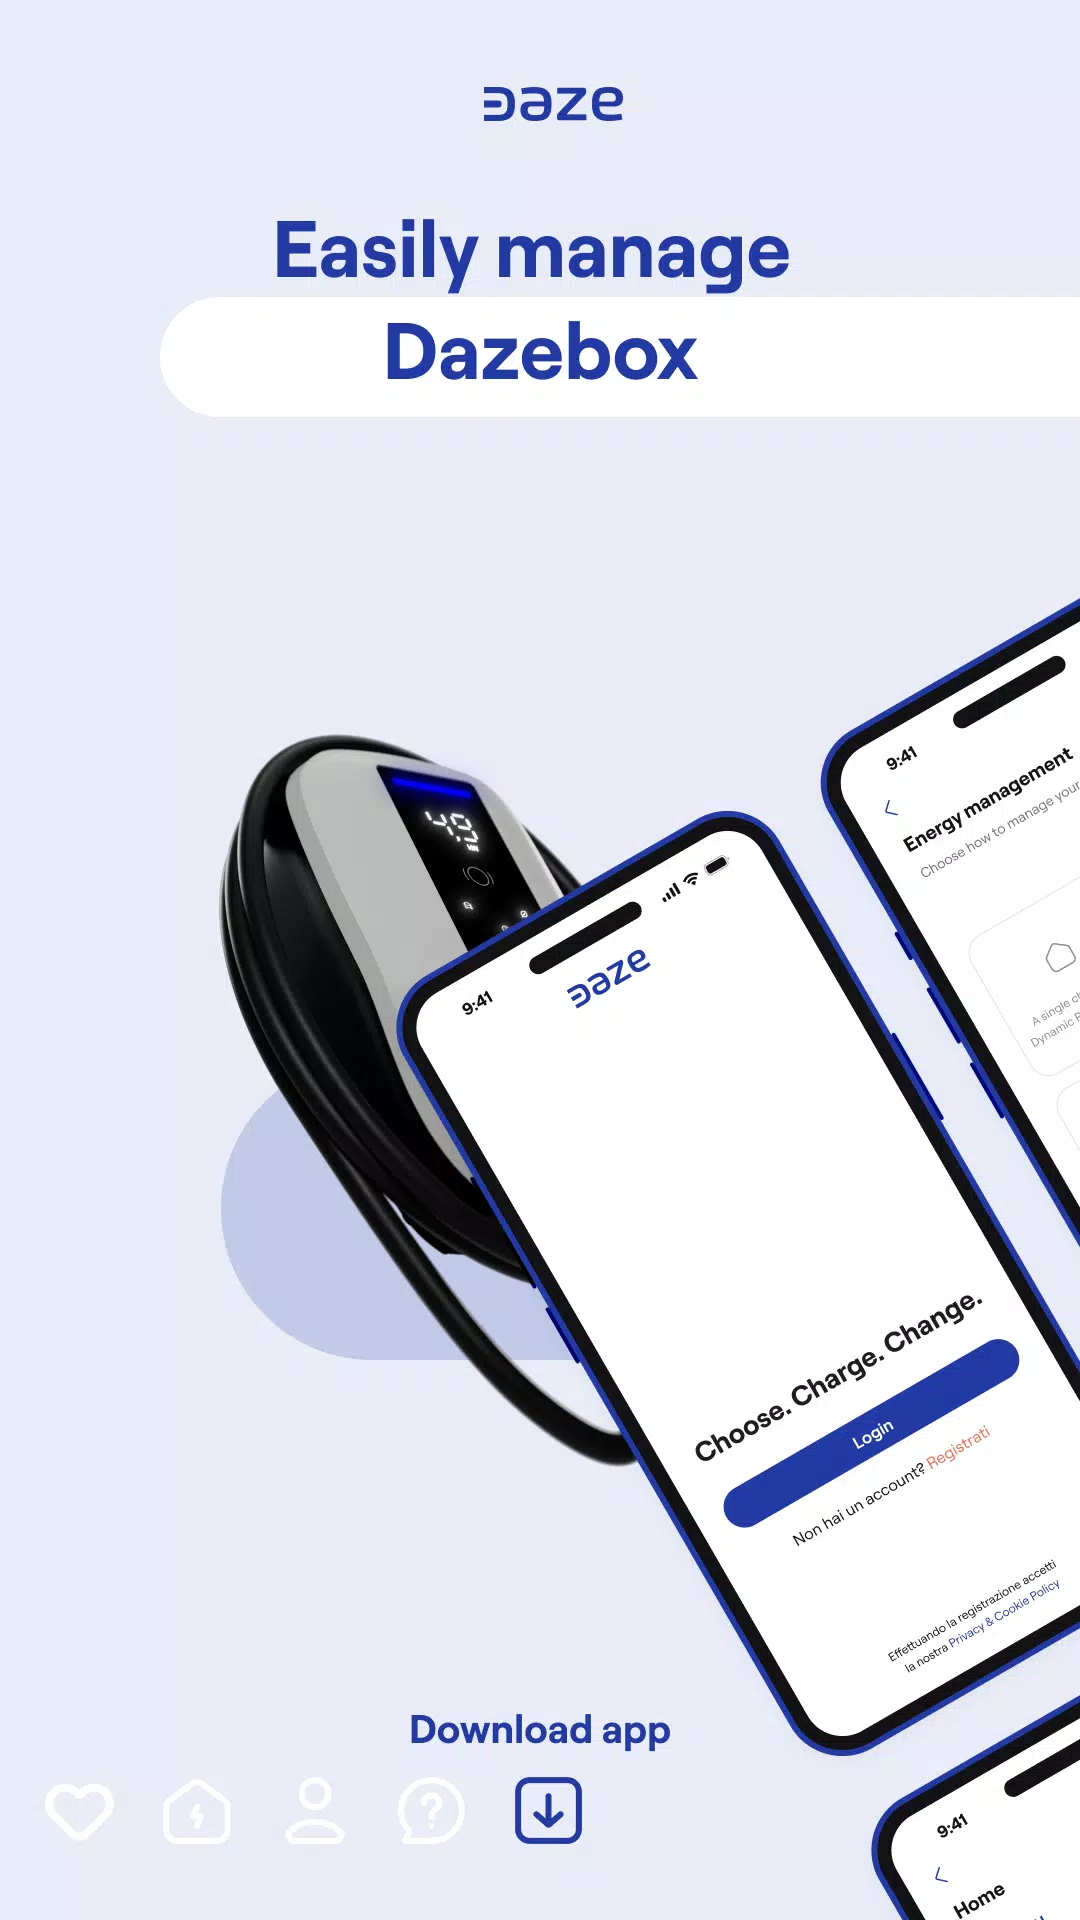
Administre sin esfuerzo su Dazetechnology Wallbox utilizando la aplicación Daze oficial. Esta aplicación intuitiva desbloquea una gama de características diseñadas para un control y optimización sin problemas.
Asocia tu ballena
Conecte rápidamente su Dazebox C o DazeBox Home a la aplicación simplemente escaneando el código QR ubicado en su WallBox. Esto activa instantáneamente las características avanzadas y permite la gestión centralizada de todas sus casillas asociadas desde la pantalla de inicio de la aplicación.
Agregar y organizar usuarios
Controle el acceso de carga dentro de su red WallBox agregando usuarios y asignando permisos personalizados. Otorgue el acceso de carga o capacidades más amplias de gestión de la red según sea necesario, manteniendo el control completo sobre quién puede usar sus cargadores.
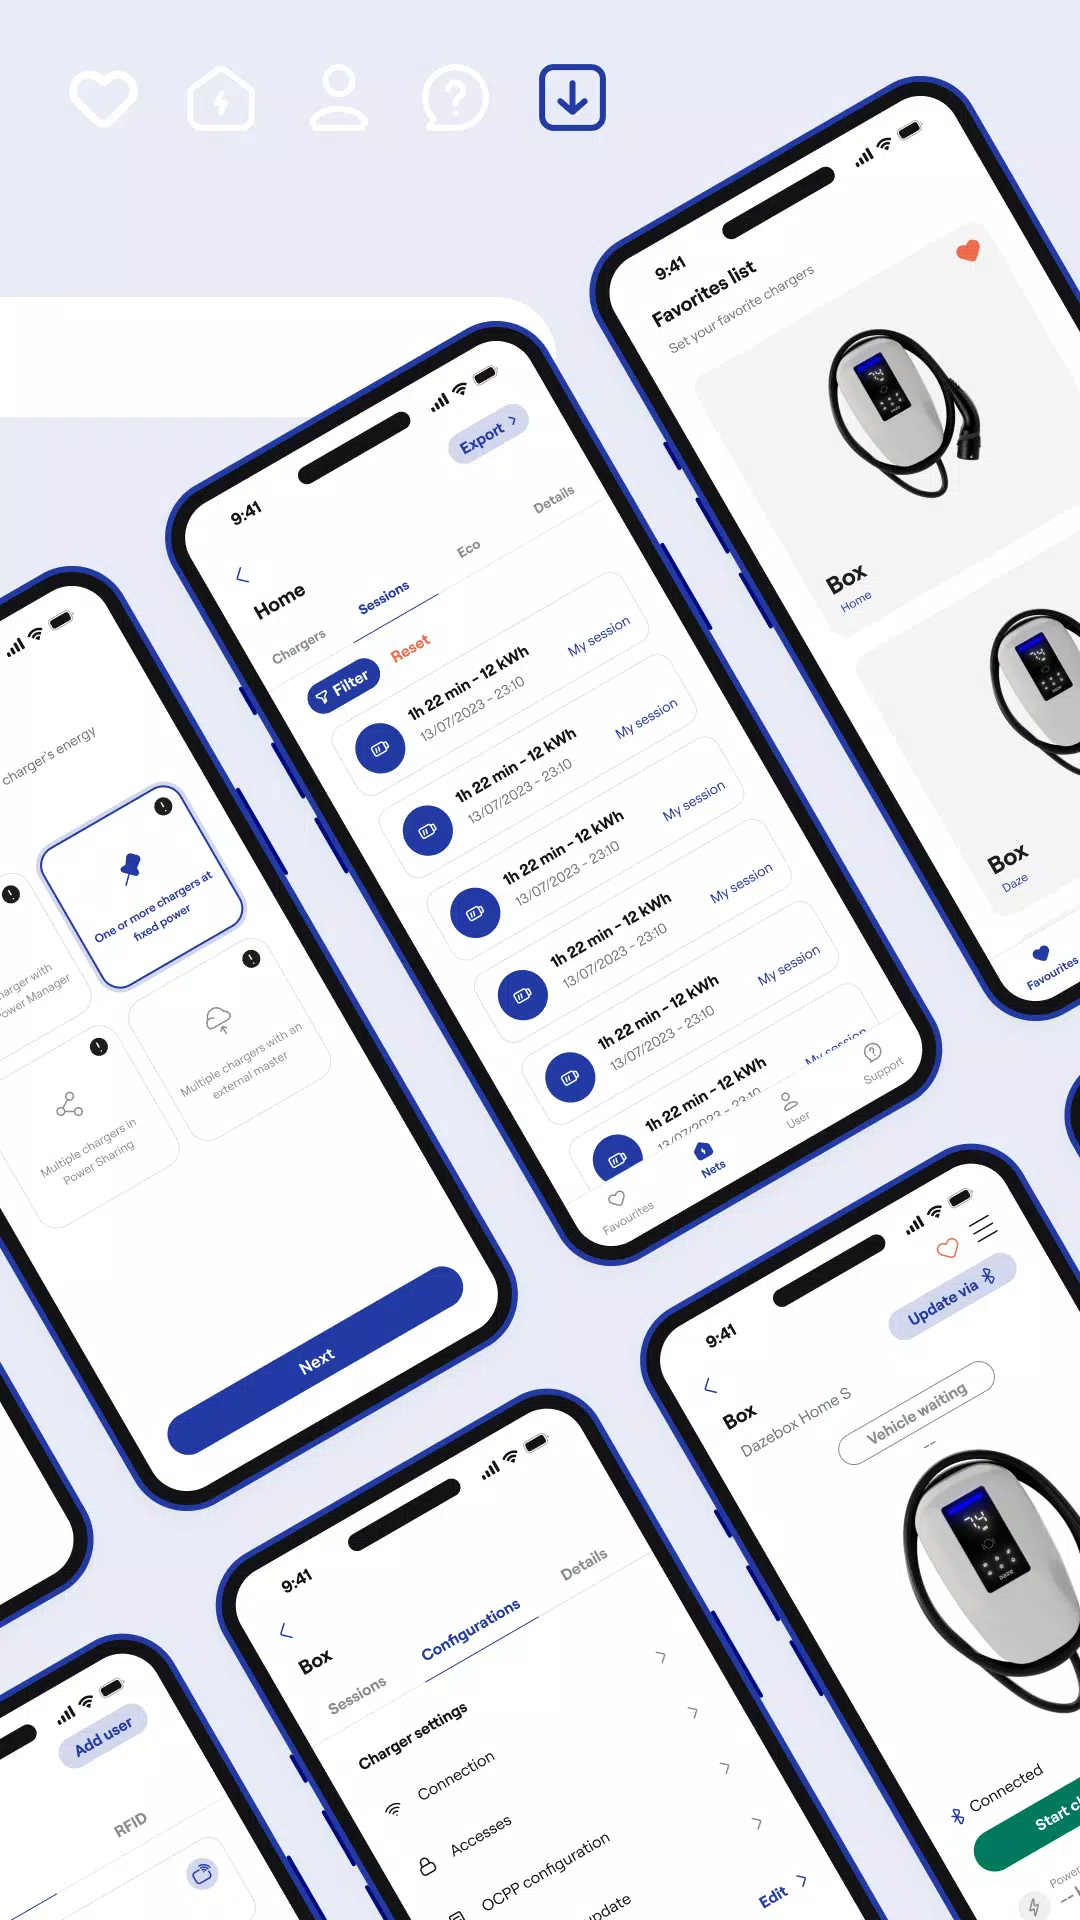
Estructura tu red de cargadores
Organice eficientemente sus Wallboxes en redes para una gestión de carga de energía optimizada en toda su instalación. Clasifica a tus cargadores lógicamente para optimizar tu flujo de trabajo. PIN con frecuentemente las ballenas como favoritos para un acceso rápido y fácil.
Administrar cargas de alimentación
Ajuste fácilmente la potencia de carga máxima de su Wallbox con algunos toques simples. Alternativamente, permita a Dynamic Power Management para maximizar automáticamente la potencia de carga en función de la disponibilidad de su sistema.
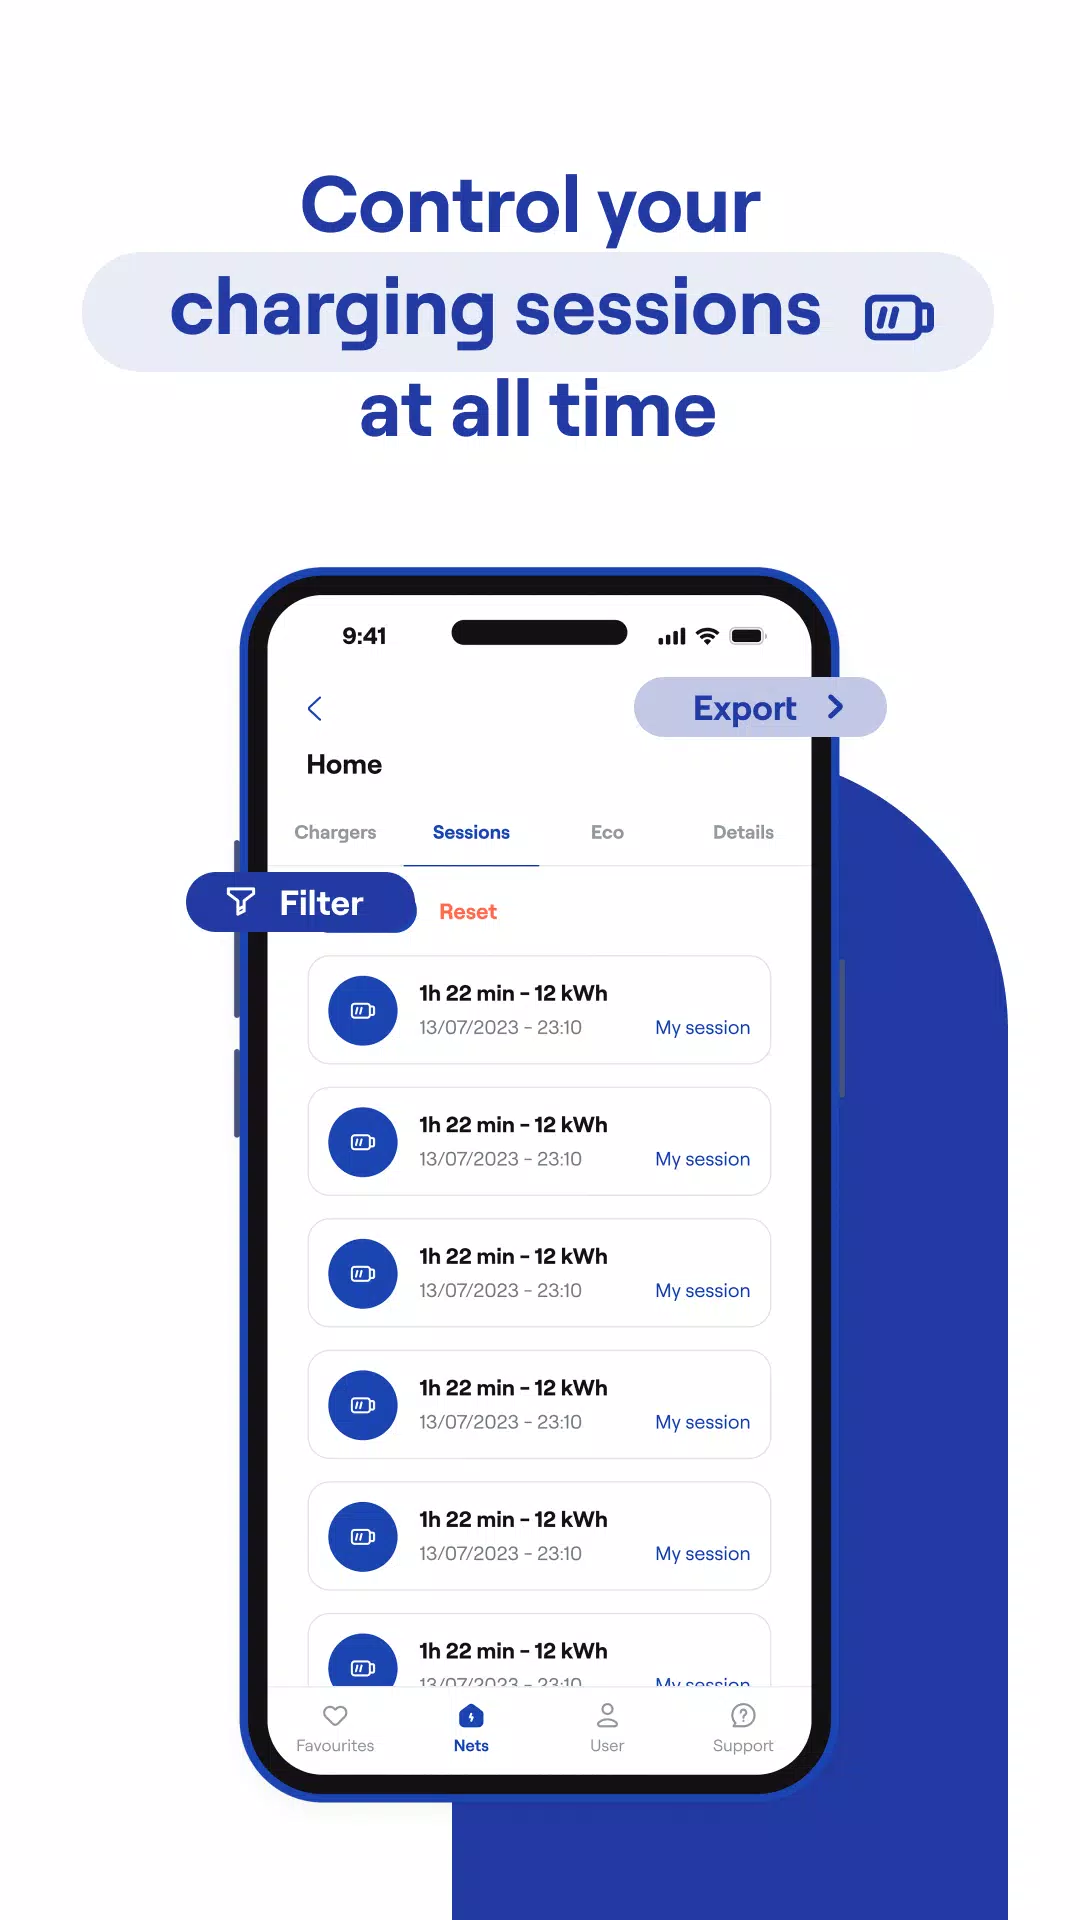
Rastree sus sesiones de recarga
Obtenga información valiosa sobre su historial de carga. La aplicación proporciona datos detallados sobre cada sesión de carga, incluido el uso de energía en tiempo real y la actividad del usuario.
Actualizar
Mantenga el firmware de su Wallbox actualizado con las últimas mejoras y parches de seguridad. Un botón dedicado dentro de la aplicación simplifica el proceso de actualización.
Rastree sus sesiones de recarga
(Esta sección es un duplicado y se puede eliminar)
¿Qué hay de nuevo en la versión 7.0.1?
Última actualización el 10 de octubre de 2024
Esta actualización incluye correcciones menores de errores y mejoras de rendimiento. ¡Descargue o actualice a la última versión para experimentar estas mejoras!
Etiquetas : Auto y vehículos