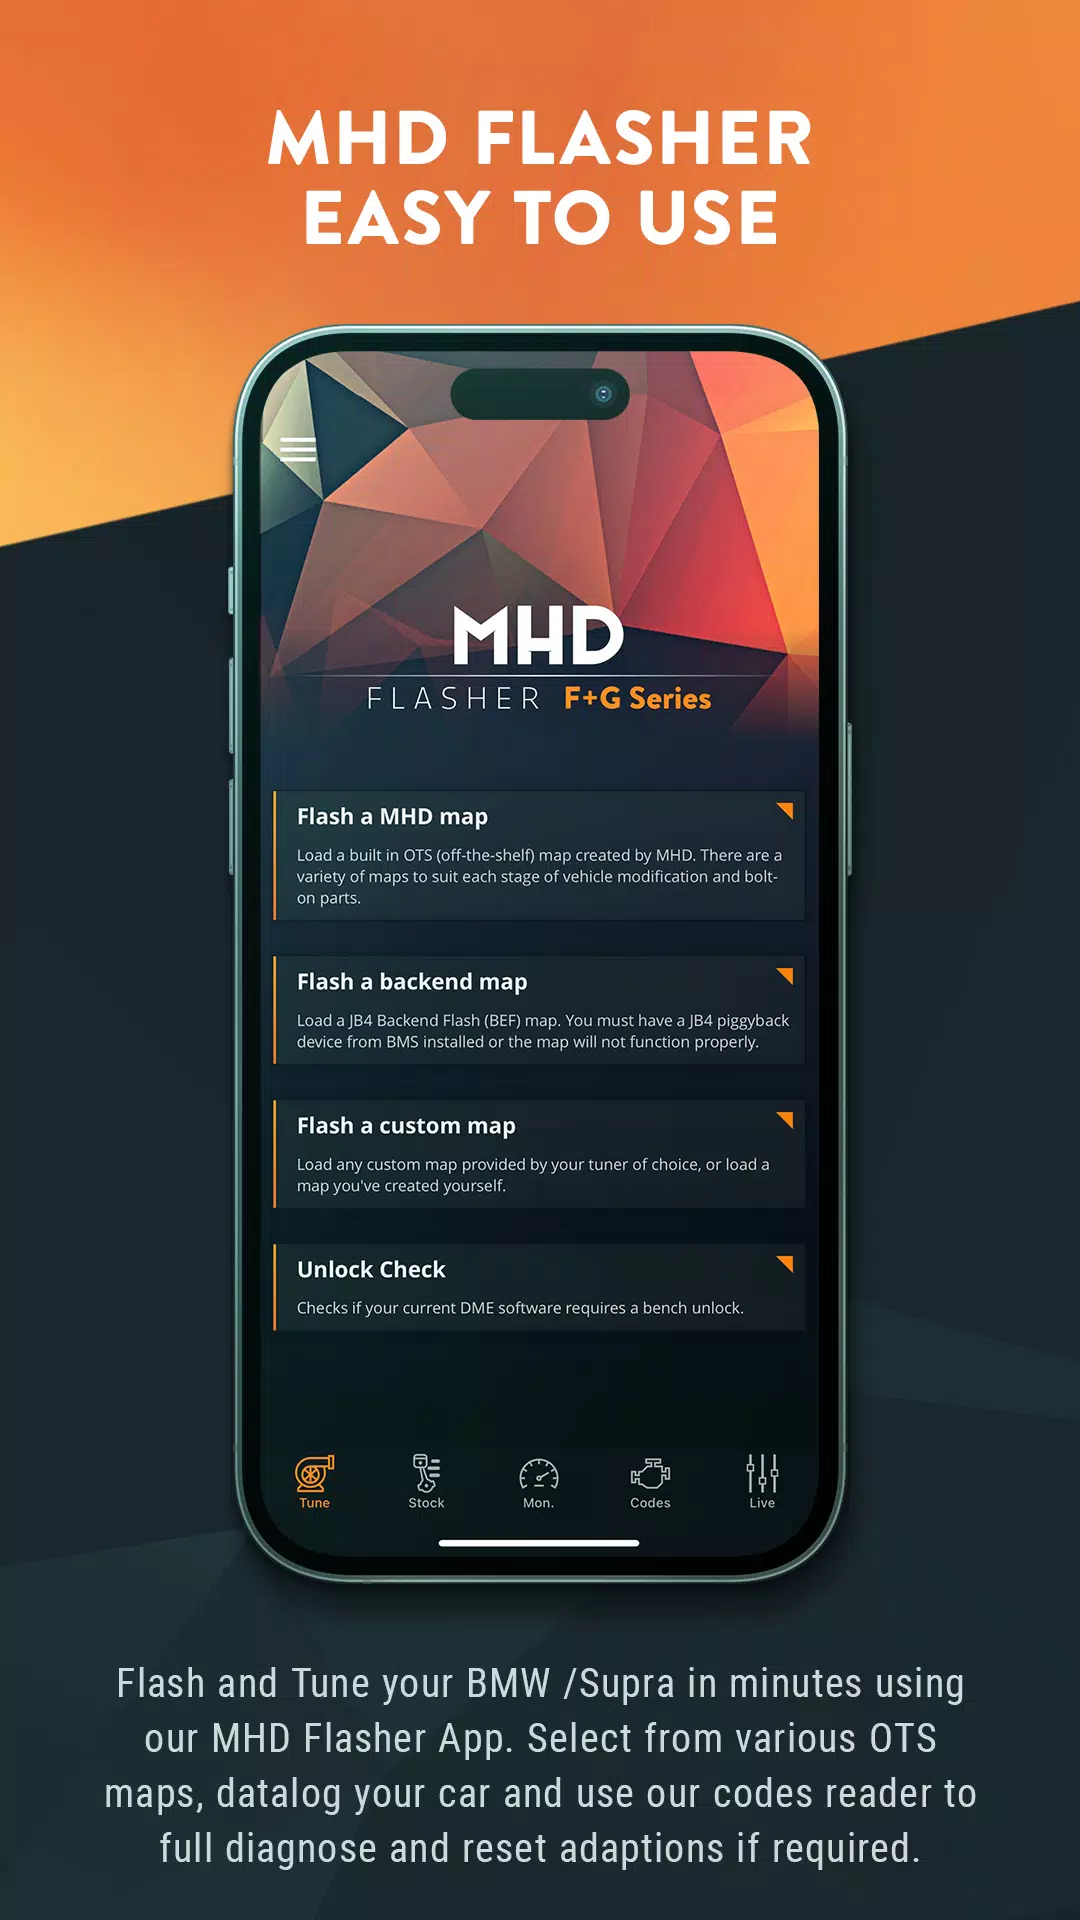
La serie MHD Flasher F+G es una aplicación de ajuste de flash integral diseñada para vehículos BMW y Toyota Supra A90. A diferencia de los módulos de piggyback, ofrece reasignaciones DME completas al tiempo que preserva todas las características de seguridad del fabricante de equipos originales (OEM). Esto garantiza el máximo rendimiento, seguridad y conducción conductual incomparable.
Parpadeo completo de OBD: experimente la conveniencia de la instalación en el hogar y el ajuste inmediato. Simplemente descargue la aplicación MHD Flasher F+G de la serie, conéctese a través de un adaptador WiFi MHD y el puerto OBD-II de su vehículo, y comience el proceso. La instalación inicial lleva aproximadamente 5 minutos, con cambios de mapa posteriores completados en solo 20 segundos. Volver a la fábrica OEM Flash es sin esfuerzo en cualquier momento, eliminando la necesidad de copias de seguridad iniciales.
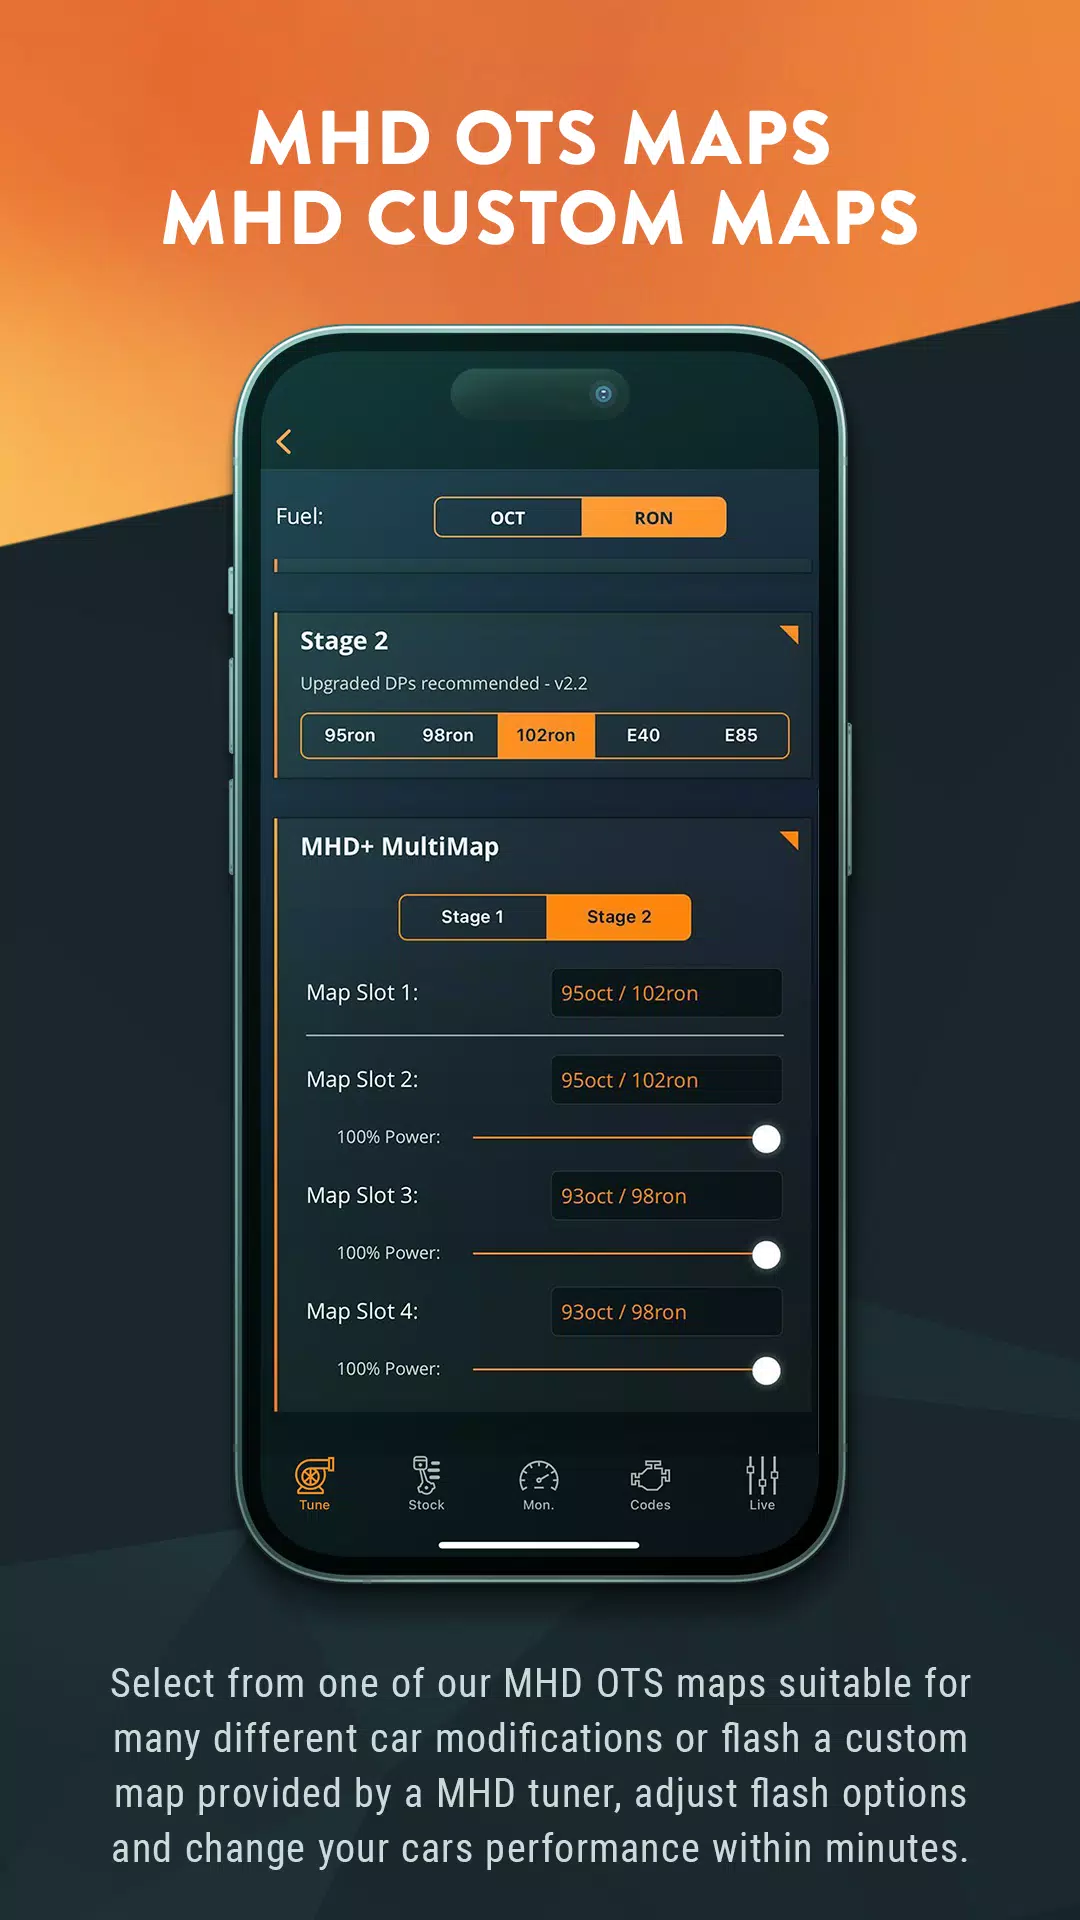
Mapas de Etapa 1, Etapa 2 y E85 OTS (Light the-Shelf) por PureBoost:
N55 EWG (WASTEGATE ELECTRÓNICO - Vehículos construidos después del 07/2013):
- Etapa 1 (hasta 360 hp/540 nm) (no disponible para M2 y X4 M40i)
- Etapa 2 (hasta 390 hp/580nm)
- Etapa 2+ (hasta 430 hp/630nm)
- Mapas de mezcla de etanol: mapas Etapa 1, 2 y 2+ E20 para mezclas de etanol al 20%
N55 PWG (WASTEGATE neumático):
- Etapa 1 (hasta 340 hp/540nm)
- Etapa 2 (hasta 370 hp/580nm)
- Etapa 2+ (hasta 400 hp/630nm)
- Mapas de mezcla de etanol: mapas Etapa 1, 2 y 2+ E20 para mezclas de etanol al 20%
S55 (BMW M3/M4 F8X):
- Etapa 1 (hasta 530 hp/700 nm)
- Etapa 2 (hasta 560 hp/780nm)
- Mapas de mezcla de etanol: mapas de Etanol 1, 2 y 2+ E30 para mezclas de etanol al 30%
B58:
- Etapa 1 (hasta 440hp/600 nm)
- Etapa 2 (hasta 470 hp/650nm)
- Etapa 2+HPFP (hasta 500 hp/700 nm)
- Mapas de mezcla de etanol: etapa 1, 2 mapas para mezclas de etanol al 30%
S58:
- Etapa 1 (hasta 630 hp/750 nm)
- Etapa 2 (hasta 700 hp/850 nm)
- Mapas de mezcla de etanol (hasta 750 hp/880 nm): Mapas Etapa 1 y 2 E30+ para 30%+ mezclas de etanol
S63:
- Etapa 1 (hasta 720 hp/900 nm)
- Etapa 2 (hasta 780 hp/950nm)
- Mapas de mezcla de etanol (hasta 800 hp/1000 nm): mapas de etapa 1 y 2 para 30%+ mezclas de etanol
N13:
- Etapa 1 (hasta 200 hp/280nm, 93oct/98Ron)
- Etapa 2 (hasta 235 hp/350nm, 93Oct/98Ron)
MHD+ Código personalizado: desbloquear características avanzadas que incluyen ajuste en vivo, conmutación de mapas en la marcha, control de aleta de escape sobre la marcha, anti-lag, combustible flexible, banco único, knockcel, cambio de látigo, basura de turno e integración completa de canbos de 2 vías con control DME PI.
Registro de datos completo y medidores en vivo: monitoree el rendimiento del motor con un diseño de calibre personalizable que muestra más de 50 parámetros del motor.
Opciones de flash adicionales: aplique estas opciones directamente a través de la aplicación:
- Anti-LAG (N55/S55/N13 solo actualmente)
- Burble de escape (duración ajustable y agresividad)
- Extracción del limitador de velocidad superior (VMAX)
- Reducción de ruido de arranque en frío
- Conjilla de escape abrir en modo deportivo
- Límite de potencia por marcha
- Soporte de Flash TCU XHP (mapas OTS optimizados)
- Modo de enfriamiento deportivo
- Y muchos más
Consulte nuestra página de inicio y el manual del usuario para obtener información detallada, vehículos compatibles y modificaciones recomendadas para cada etapa.
¿Qué hay de nuevo en la versión 4.78 (última actualización del 23 de octubre de 2024)?
- Se agregó soporte de opción Flash para el Gen2 Dorch DS25 HPFP.
- Se corrigió el problema de inicio en caliente en los mapas de Etanol OTS Gen2 B58.
Etiquetas : Auto y vehículos
CD > ER > ATK% > Speed (only if needed for turn order)
❌ Avoid: HP%, DEF%, Healing Bonus (unless for a niche support role)
2. Artifact Sets (Recommended)
✅ Best Set (High Burst DPS)
2pc: "The Wasted Heir" (Quantum)
4pc: "The Wasted Heir" (Quantum)
Effect: After using an Elemental Burst, gain 30% ATK% and 30% SPD for 1 turn. This stacks up to 2 times.
💡 Why it’s great: Massive burst boost, perfect for a Quantum DPS. The 30% ATK% and SPD boost dramatically increases damage on burst turn.
⚠️ Note: Requires 2-stack management (use burst, then use another ability to refresh the buff). You’ll want to use burst, then normal attack to maintain uptime.
🔁 Alternative (if "The Wasted Heir" not available)
2pc: "Searing Moon" (Quantum)
2pc: "Stalwart and Sojourner" (Quantum)
4pc: "Searing Moon" (Quantum)
Effect: After breaking an enemy, gains 20% ATK% and 20% EM (Energy Multiplier) for 2 turns.
💡 Best for: Enemies with high defense or shields, especially in Abyss floors or hard mode.
🔥 High-Efficiency Set (if you need more CDR/ER)
4pc: "The Wasted Heir" (Quantum)
4pc: "The Wasted Heir" (Quantum) + 2pc: "Searing Moon" (if you're struggling with CDR/ER)
✅ Use 2pc: "The Wasted Heir" + 2pc: "Searing Moon" only if you're maxing CDR and want extra EM for Weakness Break.
🛡️ Auras (Emblems) – Aura Selection
Note: Auras (Emblems) are passive traits that enhance stats based on character level, rank, and talent level.
✅ Best Aura (Maximize Burst Damage)
Emblem: "The Wasted Heir" (Quantum)
Effect: After using an Elemental Burst, gain +30% ATK% and +30% SPD for 1 turn.
Why: Directly increases damage output on burst turn.
✅ Best for: Single-target burst, boss fights, and hard-mode Abyss.
🔁 Alternative Auras
Emblem: "The Wasted Heir" (Quantum) + 2pc: "Searing Moon" (if you want EM boost on Break)
Emblem: "Searing Moon" (Quantum)
Effect: After breaking an enemy, gain +20% ATK% and +20% EM for 2 turns.
⚠️ Use this only if you're fighting enemies with high defense or shields.
🧩 Talent Priorities
Ultimate (Burst): Max as #1 priority (most damage output).
Normal Attack: Max to maintain energy and for sub-ability usage.
Skill: Max only if it provides useful utility (e.g., energy regeneration, shield, or status effect).
Evasion/Defensive Skills: Usually not prioritized unless you’re in a very hard mode or need survivability.
✅ Golden Rule: Burst > Normal Attack > Skill
🎮 Team Synergy Tips
Support Pairing:
Use a Quantum Break DPS (e.g., Acheron, Yanqing) to trigger Weakness Breaks.
Pair with a Debuff/DoT support (e.g., Herta, Pela, Fu Hua) to extend burst uptime.
Include a CDR or ER support (e.g., Machina, Setaria) to enable faster bursts.
Energy Management:
Use characters like Sampo (if available) or Luka to regenerate energy fast.
Perfect Turn Order:
Place Heirs after your energy regenerator or support, so they can burst immediately.
📊 Final Build Summary
Stat
Target
Notes
Main Stat
ATK% (if using 4pc The Wasted Heir)
Otherwise CR or CD
Sub-Stats
CR > CD > ER > ATK% > SPD
Prioritize CR/CD balance
Artifacts
4pc "The Wasted Heir" (Quantum)
Best for burst damage
Emblems
"The Wasted Heir" (Quantum)
Boosts burst damage
Talents
Ultimate > Normal Attack > Skill
Max Ultimate first
🏁 Final Thoughts
Abyss's Chosen Heirs shines in high-damage burst fights, especially against bosses, elite enemies, and Abyss floors.
"The Wasted Heir" set + 4pc emblem is unmatched for Quantum DPS in 5-star tier.
Prioritize CR/CD balance, ER for energy sustainability, and team synergy.
✨ Pro Tip: Use "Quantum" or "Break" decks to maximize Weakness Break and burst damage synergy.
If you have a specific version of Abyss's Chosen Heirs (e.g., Acheron, Yanqing, or another name), let me know and I’ll tailor the guide exactly to that character.
Stay strong, Trailblazer. The Abyss awaits. 🌑⚔️" onerror="this.onerror='';this.src='/assets/images/morentu/200-200.png'" uk-cover>