Hogar Aplicaciones Viajes y locales PickMe (Sri Lanka)
PickMe (Sri Lanka)

PickMe (Sri Lanka)

Viajes y locales
3.0
Descripción

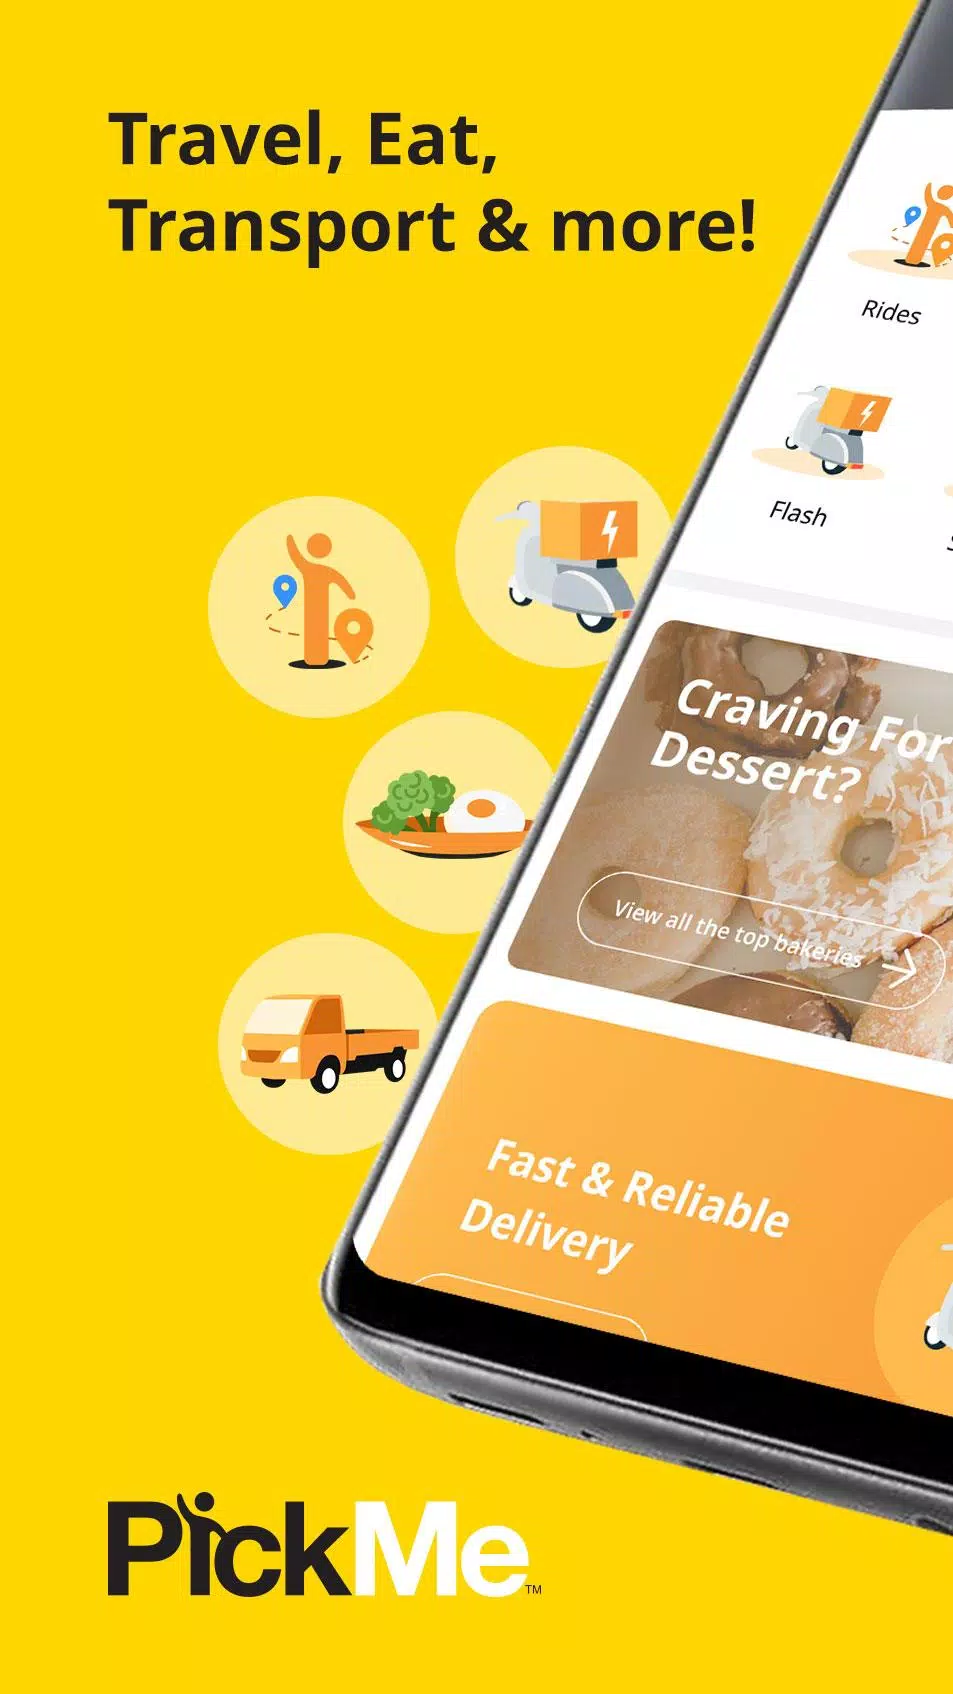
PickMe se erige como la principal aplicación para los servicios de transporte, entrega de alimentos y logística en Sri Lanka, ampliando constantemente su conjunto de características para mejorar la experiencia del usuario. Ya sea que esté buscando un viaje tradicional de tres ruedas, necesite un camión para el transporte de mercancías, desee un sedán de lujo para una ocasión especial o desea disfrutar de una comida entregada en su puerta, PickMe ofrece una solución integral y única.

Cada viaje con PickMe viene con la comodidad de los pagos en efectivo o sin efectivo, el seguimiento de los conductores en vivo y las estimaciones de tarifas para garantizar un viaje sin problemas. Vamos a profundizar en cómo puede usar PickMe para varios servicios:

Rides - Salir a un pickme

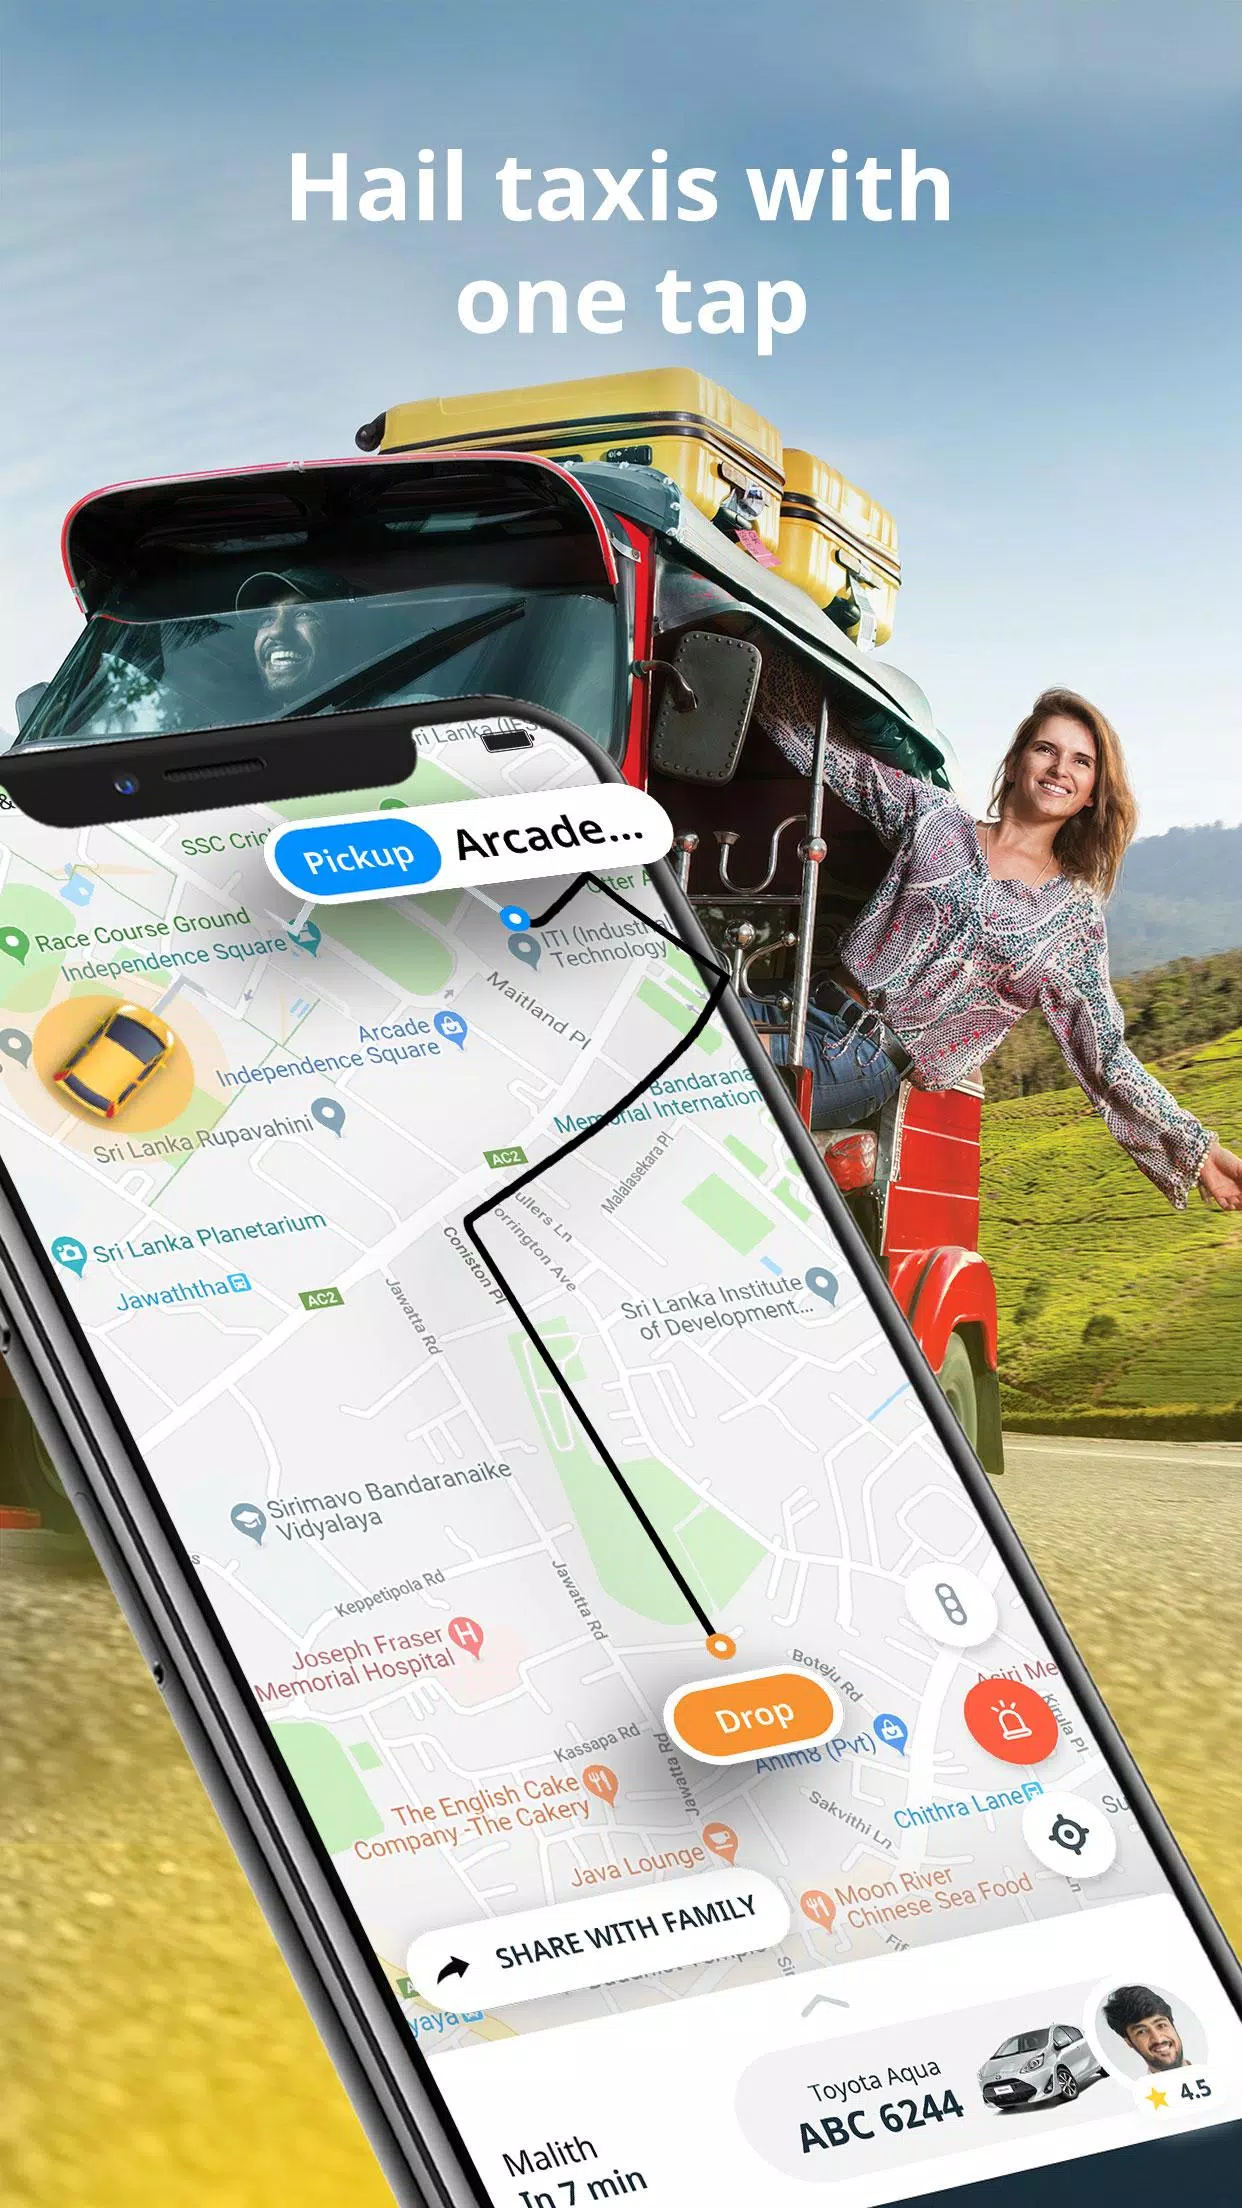
Para reservar un viaje con PickMe, siga estos simples pasos:

  1. Inicie la aplicación e ingrese su ubicación de recogida.
  2. Ingrese su destino para recibir una estimación de tarifa.
  3. Elija su tipo de vehículo preferido de opciones como bicicleta, tuk, nano, mini, sedán o camioneta.
  4. Finalmente, presione "Book Now" y deje que Pickme lo conecte con un viaje.

Una vez que te coincidan con un conductor, puede rastrearlos en tiempo real, con detalles como el nombre del conductor, la imagen, el tipo de vehículo y el número de matrícula que se muestra claramente en la aplicación. Esto le ayuda a identificar fácilmente su viaje. Además, puede compartir su tiempo estimado de llegada (ETA) con amigos o familiares, asegurando que sepan que está a salvo y en su camino.

Para compromisos más largos o viajes planificados previamente, como los traslados del aeropuerto, puede reservar un vehículo para el día o programar un viaje por adelantado directamente a través de la aplicación.
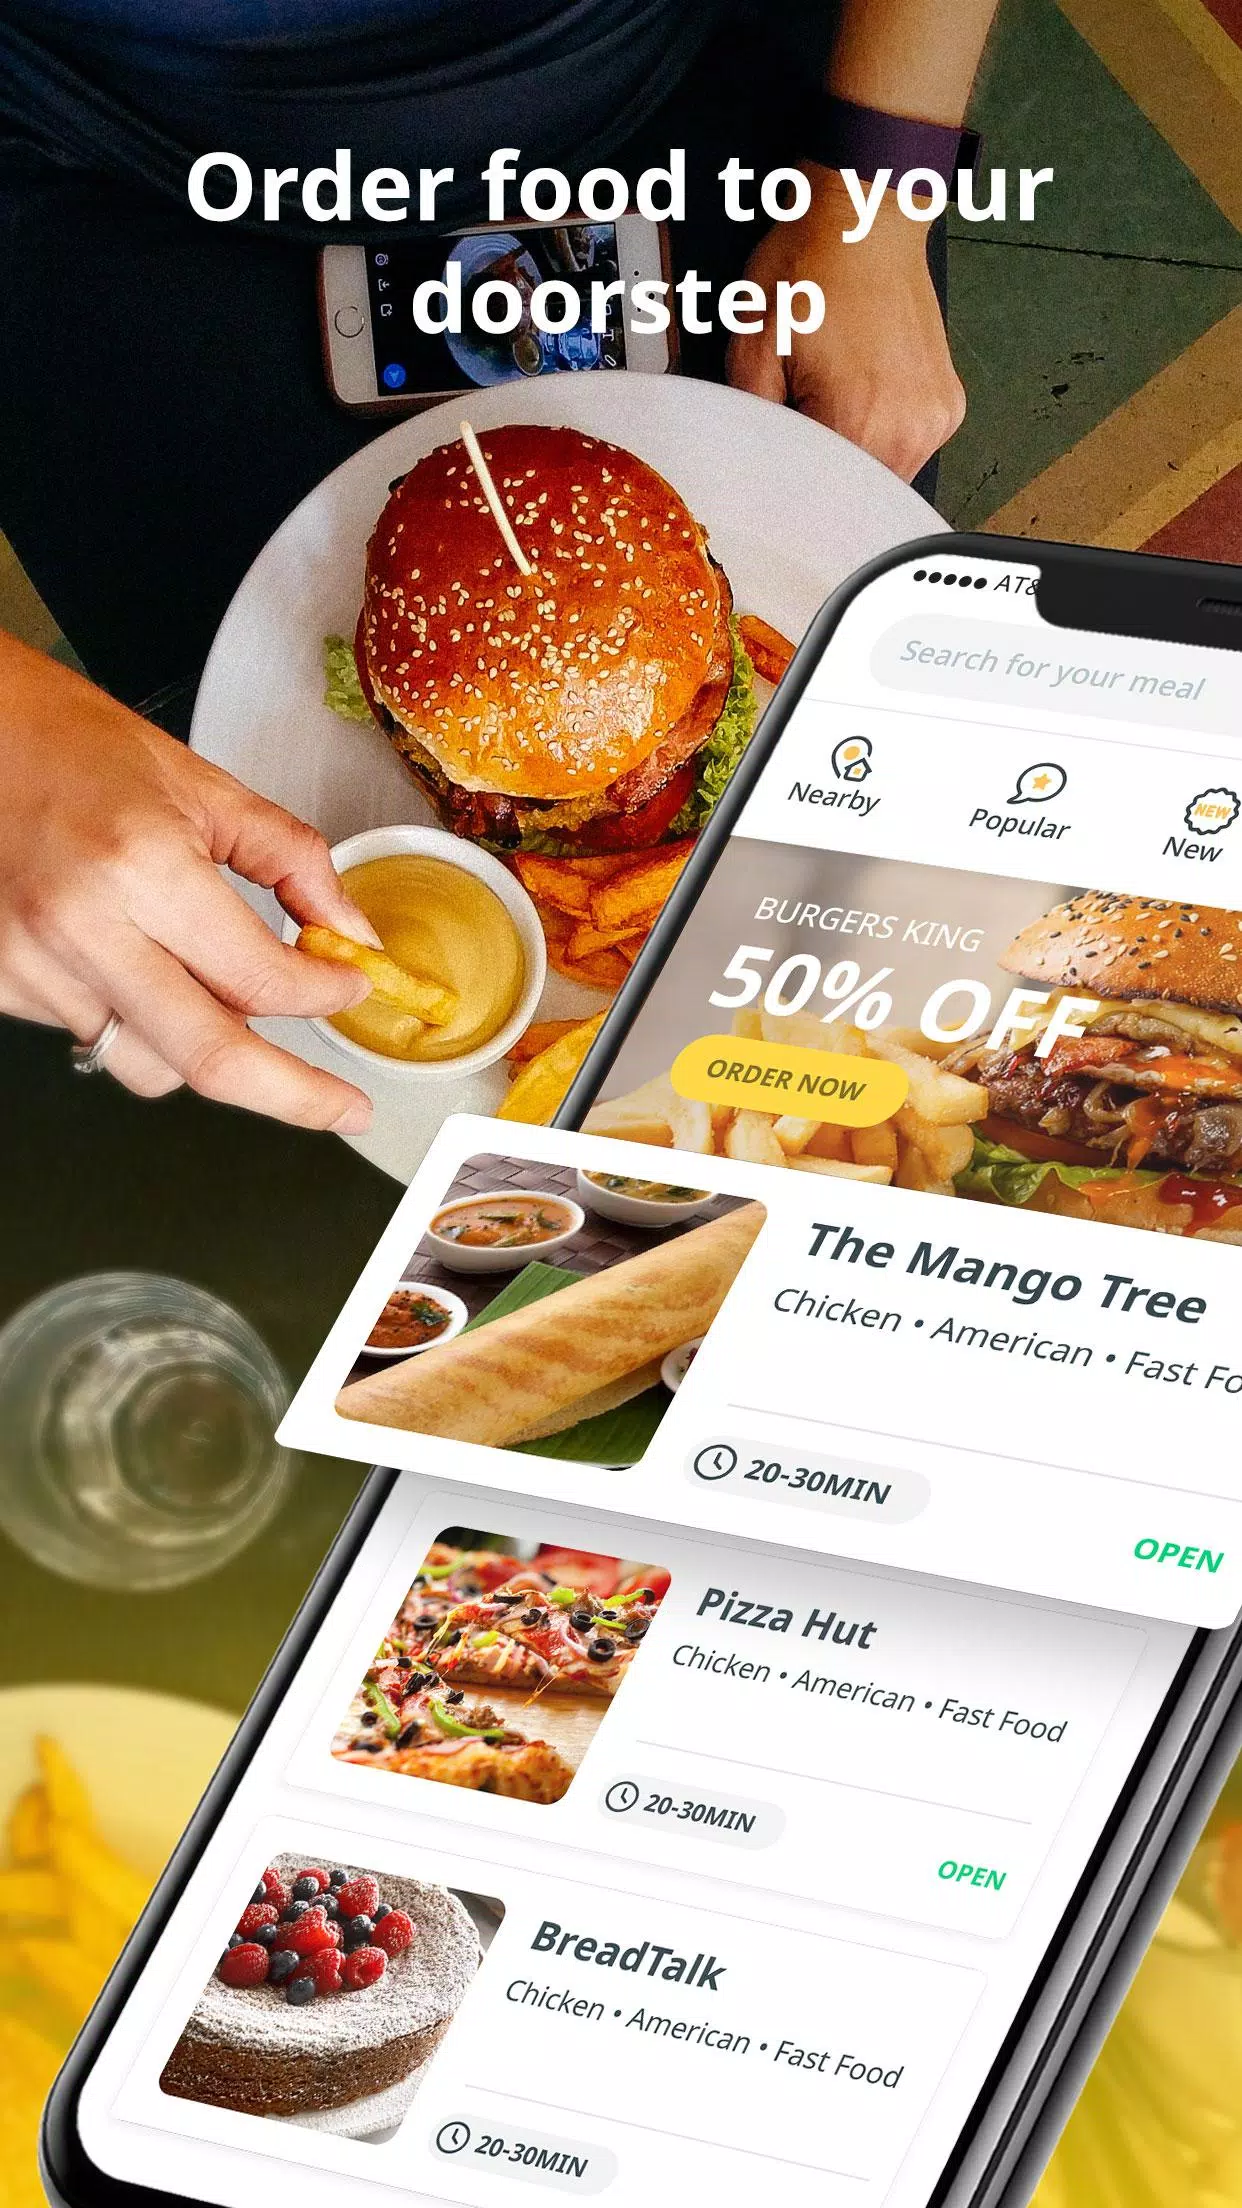
Alimento

Pickme no se trata solo de transporte; También es su opción para la entrega de alimentos. Con una amplia gama de restaurantes disponibles en la aplicación, puede navegar fácilmente, ordenar y recibir sus platos favoritos directamente a su puerta.
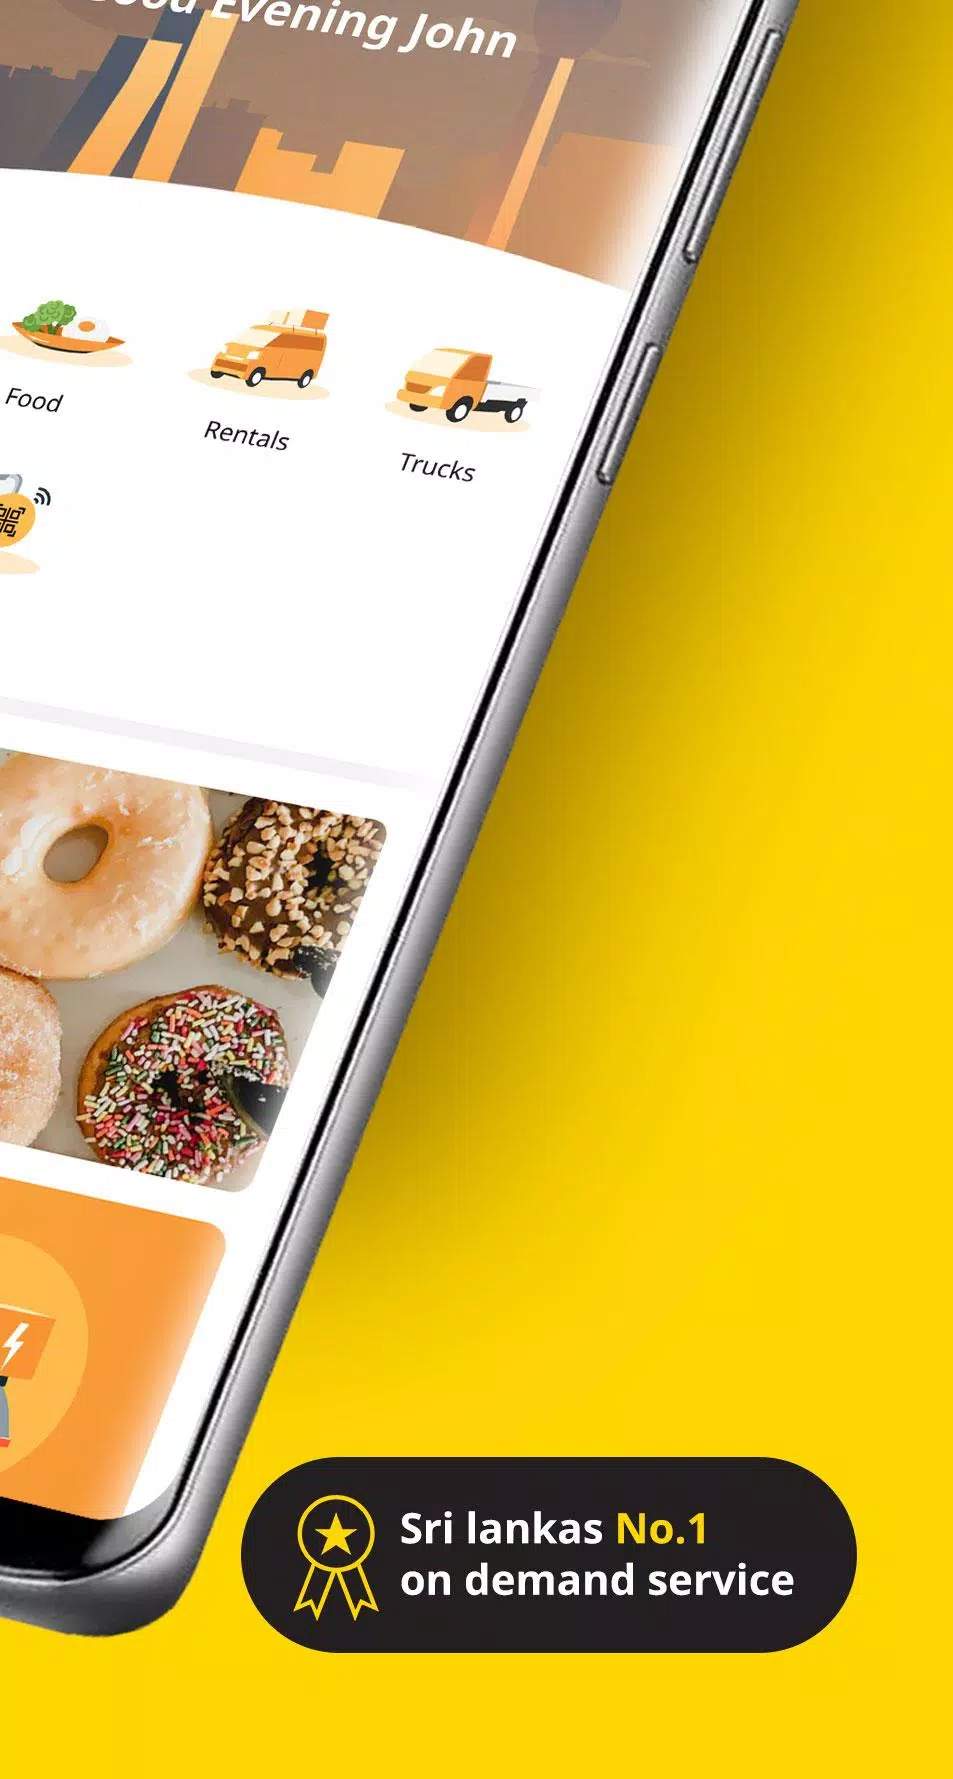
Logística

¿Necesitas mover elementos? Los camiones PickMe ahora están disponibles en la aplicación, ofreciendo soluciones logísticas asequibles y sin problemas. Si no está acompañando sus productos, aún puede rastrear el viaje del camión en tiempo real, asegurando la tranquilidad.

Destello

La última incorporación al conjunto de servicios de PickMe es PickMe Flash, lo que le permite enviar y recibir paquetes de manera rápida y confiable. Con precios competitivos y tiempos de entrega rápidos, enviar paquetes nunca ha sido más fácil o más conveniente.

Manténgase conectado con PickMe a través de las redes sociales para mantenerse al día con las últimas actualizaciones y ofertas:

http://facebook.com/pickmelk

https://twitter.com/pickmelk

Etiquetas : Viajes y locales

PickMe (Sri Lanka) capturas de pantalla
  • PickMe (Sri Lanka) Captura de pantalla 0
  • PickMe (Sri Lanka) Captura de pantalla 1
  • PickMe (Sri Lanka) Captura de pantalla 2
  • PickMe (Sri Lanka) Captura de pantalla 3
Últimos artículos
CD > ER > ATK% > Speed (only if needed for turn order) ❌ Avoid: HP%, DEF%, Healing Bonus (unless for a niche support role) 2. Artifact Sets (Recommended) ✅ Best Set (High Burst DPS) 2pc: "The Wasted Heir" (Quantum) 4pc: "The Wasted Heir" (Quantum) Effect: After using an Elemental Burst, gain 30% ATK% and 30% SPD for 1 turn. This stacks up to 2 times. 💡 Why it’s great: Massive burst boost, perfect for a Quantum DPS. The 30% ATK% and SPD boost dramatically increases damage on burst turn. ⚠️ Note: Requires 2-stack management (use burst, then use another ability to refresh the buff). You’ll want to use burst, then normal attack to maintain uptime. 🔁 Alternative (if "The Wasted Heir" not available) 2pc: "Searing Moon" (Quantum) 2pc: "Stalwart and Sojourner" (Quantum) 4pc: "Searing Moon" (Quantum) Effect: After breaking an enemy, gains 20% ATK% and 20% EM (Energy Multiplier) for 2 turns. 💡 Best for: Enemies with high defense or shields, especially in Abyss floors or hard mode. 🔥 High-Efficiency Set (if you need more CDR/ER) 4pc: "The Wasted Heir" (Quantum) 4pc: "The Wasted Heir" (Quantum) + 2pc: "Searing Moon" (if you're struggling with CDR/ER) ✅ Use 2pc: "The Wasted Heir" + 2pc: "Searing Moon" only if you're maxing CDR and want extra EM for Weakness Break. 🛡️ Auras (Emblems) – Aura Selection Note: Auras (Emblems) are passive traits that enhance stats based on character level, rank, and talent level. ✅ Best Aura (Maximize Burst Damage) Emblem: "The Wasted Heir" (Quantum) Effect: After using an Elemental Burst, gain +30% ATK% and +30% SPD for 1 turn. Why: Directly increases damage output on burst turn. ✅ Best for: Single-target burst, boss fights, and hard-mode Abyss. 🔁 Alternative Auras Emblem: "The Wasted Heir" (Quantum) + 2pc: "Searing Moon" (if you want EM boost on Break) Emblem: "Searing Moon" (Quantum) Effect: After breaking an enemy, gain +20% ATK% and +20% EM for 2 turns. ⚠️ Use this only if you're fighting enemies with high defense or shields. 🧩 Talent Priorities Ultimate (Burst): Max as #1 priority (most damage output). Normal Attack: Max to maintain energy and for sub-ability usage. Skill: Max only if it provides useful utility (e.g., energy regeneration, shield, or status effect). Evasion/Defensive Skills: Usually not prioritized unless you’re in a very hard mode or need survivability. ✅ Golden Rule: Burst > Normal Attack > Skill 🎮 Team Synergy Tips Support Pairing: Use a Quantum Break DPS (e.g., Acheron, Yanqing) to trigger Weakness Breaks. Pair with a Debuff/DoT support (e.g., Herta, Pela, Fu Hua) to extend burst uptime. Include a CDR or ER support (e.g., Machina, Setaria) to enable faster bursts. Energy Management: Use characters like Sampo (if available) or Luka to regenerate energy fast. Perfect Turn Order: Place Heirs after your energy regenerator or support, so they can burst immediately. 📊 Final Build Summary Stat Target Notes Main Stat ATK% (if using 4pc The Wasted Heir) Otherwise CR or CD Sub-Stats CR > CD > ER > ATK% > SPD Prioritize CR/CD balance Artifacts 4pc "The Wasted Heir" (Quantum) Best for burst damage Emblems "The Wasted Heir" (Quantum) Boosts burst damage Talents Ultimate > Normal Attack > Skill Max Ultimate first 🏁 Final Thoughts Abyss's Chosen Heirs shines in high-damage burst fights, especially against bosses, elite enemies, and Abyss floors. "The Wasted Heir" set + 4pc emblem is unmatched for Quantum DPS in 5-star tier. Prioritize CR/CD balance, ER for energy sustainability, and team synergy. ✨ Pro Tip: Use "Quantum" or "Break" decks to maximize Weakness Break and burst damage synergy. If you have a specific version of Abyss's Chosen Heirs (e.g., Acheron, Yanqing, or another name), let me know and I’ll tailor the guide exactly to that character. Stay strong, Trailblazer. The Abyss awaits. 🌑⚔️" > Certainly! Here's a comprehensive Stat and Aura Guide for Abyss's Chosen Heirs in Honkai: Star Rail, focusing on optimal builds, stat priorities, and aura (Emblem) selection to maximize damage, survivability, and team synergy.

🌑 Abyss's Chosen Heirs – Overview

Character: Abyss's Chosen Heirs (often known as Heirs or Herald of the Abyss, depending on version)
Path: Destruction (Damage-dealing, burst-focused)
Element: Quantum
Role: Main DPS / Burst Damage Dealer
Team Role: High burst, strong single-target damage, excels against bosses and elite enemies.


Note: This guide assumes you're using the 5-star Quantum DPS character with the signature CD > ER > ATK% > Speed (only if needed for turn order) ❌ Avoid: HP%, DEF%, Healing Bonus (unless for a niche support role) 2. Artifact Sets (Recommended) ✅ Best Set (High Burst DPS) 2pc: "The Wasted Heir" (Quantum) 4pc: "The Wasted Heir" (Quantum) Effect: After using an Elemental Burst, gain 30% ATK% and 30% SPD for 1 turn. This stacks up to 2 times. 💡 Why it’s great: Massive burst boost, perfect for a Quantum DPS. The 30% ATK% and SPD boost dramatically increases damage on burst turn. ⚠️ Note: Requires 2-stack management (use burst, then use another ability to refresh the buff). You’ll want to use burst, then normal attack to maintain uptime. 🔁 Alternative (if "The Wasted Heir" not available) 2pc: "Searing Moon" (Quantum) 2pc: "Stalwart and Sojourner" (Quantum) 4pc: "Searing Moon" (Quantum) Effect: After breaking an enemy, gains 20% ATK% and 20% EM (Energy Multiplier) for 2 turns. 💡 Best for: Enemies with high defense or shields, especially in Abyss floors or hard mode. 🔥 High-Efficiency Set (if you need more CDR/ER) 4pc: "The Wasted Heir" (Quantum) 4pc: "The Wasted Heir" (Quantum) + 2pc: "Searing Moon" (if you're struggling with CDR/ER) ✅ Use 2pc: "The Wasted Heir" + 2pc: "Searing Moon" only if you're maxing CDR and want extra EM for Weakness Break. 🛡️ Auras (Emblems) – Aura Selection Note: Auras (Emblems) are passive traits that enhance stats based on character level, rank, and talent level. ✅ Best Aura (Maximize Burst Damage) Emblem: "The Wasted Heir" (Quantum) Effect: After using an Elemental Burst, gain +30% ATK% and +30% SPD for 1 turn. Why: Directly increases damage output on burst turn. ✅ Best for: Single-target burst, boss fights, and hard-mode Abyss. 🔁 Alternative Auras Emblem: "The Wasted Heir" (Quantum) + 2pc: "Searing Moon" (if you want EM boost on Break) Emblem: "Searing Moon" (Quantum) Effect: After breaking an enemy, gain +20% ATK% and +20% EM for 2 turns. ⚠️ Use this only if you're fighting enemies with high defense or shields. 🧩 Talent Priorities Ultimate (Burst): Max as #1 priority (most damage output). Normal Attack: Max to maintain energy and for sub-ability usage. Skill: Max only if it provides useful utility (e.g., energy regeneration, shield, or status effect). Evasion/Defensive Skills: Usually not prioritized unless you’re in a very hard mode or need survivability. ✅ Golden Rule: Burst > Normal Attack > Skill 🎮 Team Synergy Tips Support Pairing: Use a Quantum Break DPS (e.g., Acheron, Yanqing) to trigger Weakness Breaks. Pair with a Debuff/DoT support (e.g., Herta, Pela, Fu Hua) to extend burst uptime. Include a CDR or ER support (e.g., Machina, Setaria) to enable faster bursts. Energy Management: Use characters like Sampo (if available) or Luka to regenerate energy fast. Perfect Turn Order: Place Heirs after your energy regenerator or support, so they can burst immediately. 📊 Final Build Summary Stat Target Notes Main Stat ATK% (if using 4pc The Wasted Heir) Otherwise CR or CD Sub-Stats CR > CD > ER > ATK% > SPD Prioritize CR/CD balance Artifacts 4pc "The Wasted Heir" (Quantum) Best for burst damage Emblems "The Wasted Heir" (Quantum) Boosts burst damage Talents Ultimate > Normal Attack > Skill Max Ultimate first 🏁 Final Thoughts Abyss's Chosen Heirs shines in high-damage burst fights, especially against bosses, elite enemies, and Abyss floors. "The Wasted Heir" set + 4pc emblem is unmatched for Quantum DPS in 5-star tier. Prioritize CR/CD balance, ER for energy sustainability, and team synergy. ✨ Pro Tip: Use "Quantum" or "Break" decks to maximize Weakness Break and burst damage synergy. If you have a specific version of Abyss's Chosen Heirs (e.g., Acheron, Yanqing, or another name), let me know and I’ll tailor the guide exactly to that character. Stay strong, Trailblazer. The Abyss awaits. 🌑⚔️" onerror="this.onerror='';this.src='/assets/images/morentu/200-200.png'" uk-cover>