Hogar Juegos Simulación Russian Cars: 13, 14 and 15
Russian Cars: 13, 14 and 15

Russian Cars: 13, 14 and 15

Simulación
4.2
Descripción

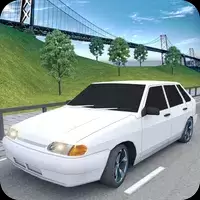
Experimente la emoción de conducir un automóvil ruso realista en un entorno urbano detallado con Russian Cars: 13, 14 y 15. Esta aplicación cuenta con un motor de física preciso, lo que hace que cada derrape y aceleración se sientan auténticos e increíblemente divertidos para jugadores de todos los niveles. niveles. Gráficos impresionantes y controles intuitivos te sumergen en un mundo de auténticos vehículos rusos y acción de alto octanaje. Ya seas un jugador ocasional o un entusiasta experimentado de las carreras, esta aplicación dinámica y emocionante te mantendrá entretenido durante horas. ¡Descárgalo ahora y conquista las calles!

Características de los automóviles rusos: 13, 14 y 15:

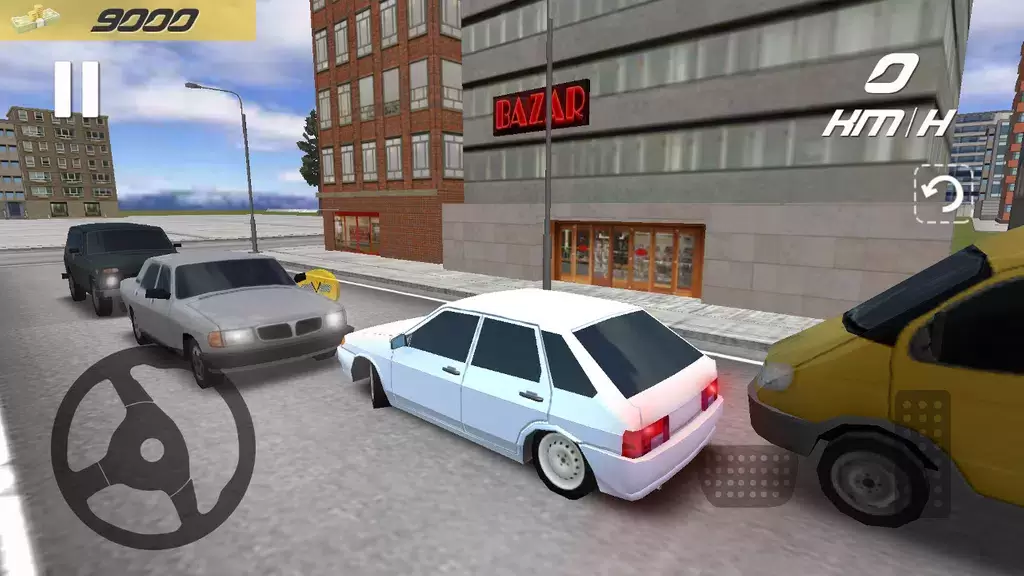
  • Motor de física realista para una simulación auténtica
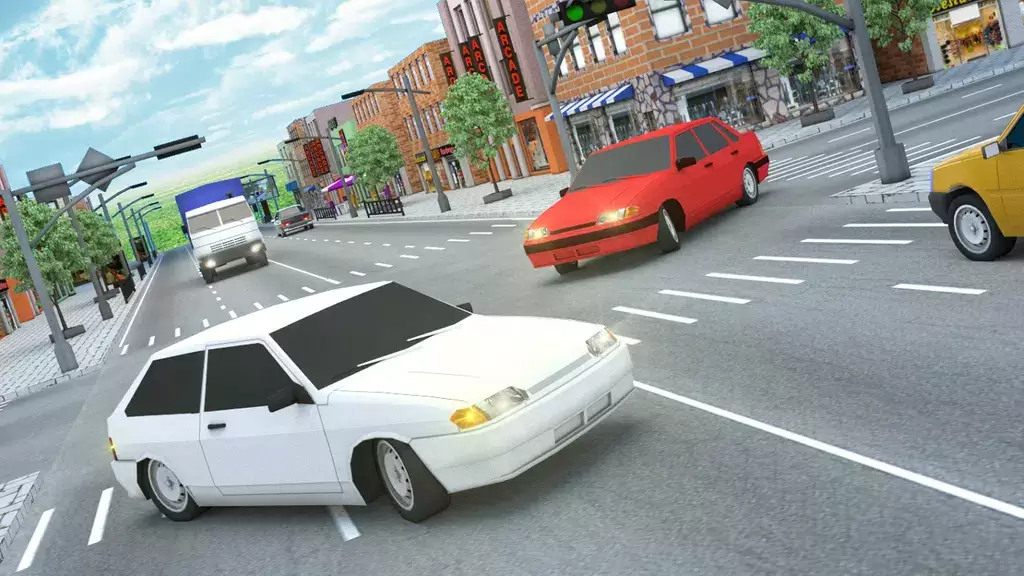
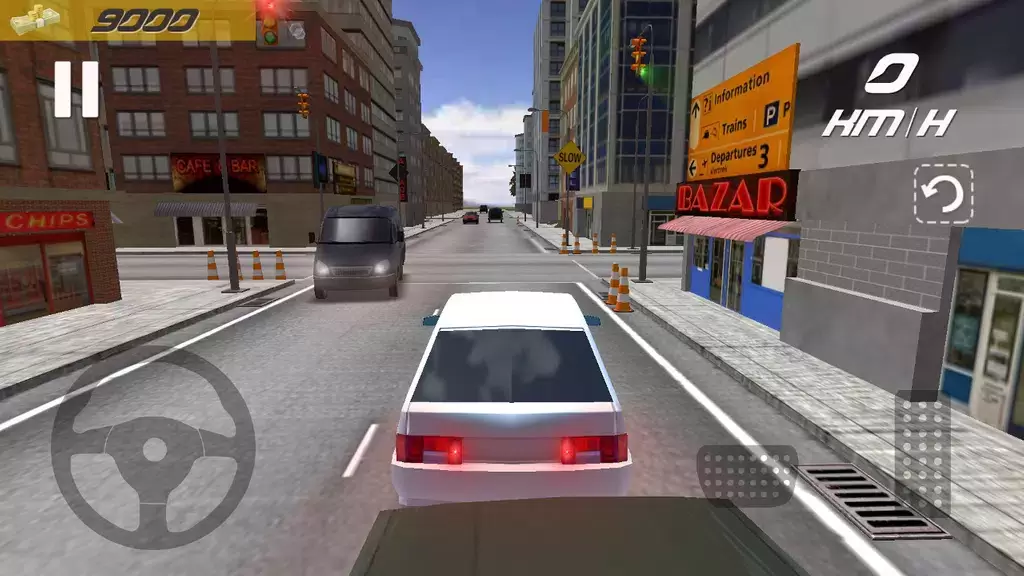
  • Conduce coches rusos en una ciudad repleta de detalles
  • Motor de física preciso para carreras realistas y divertidas
  • Juego dinámico que ofrece diversión sin fin
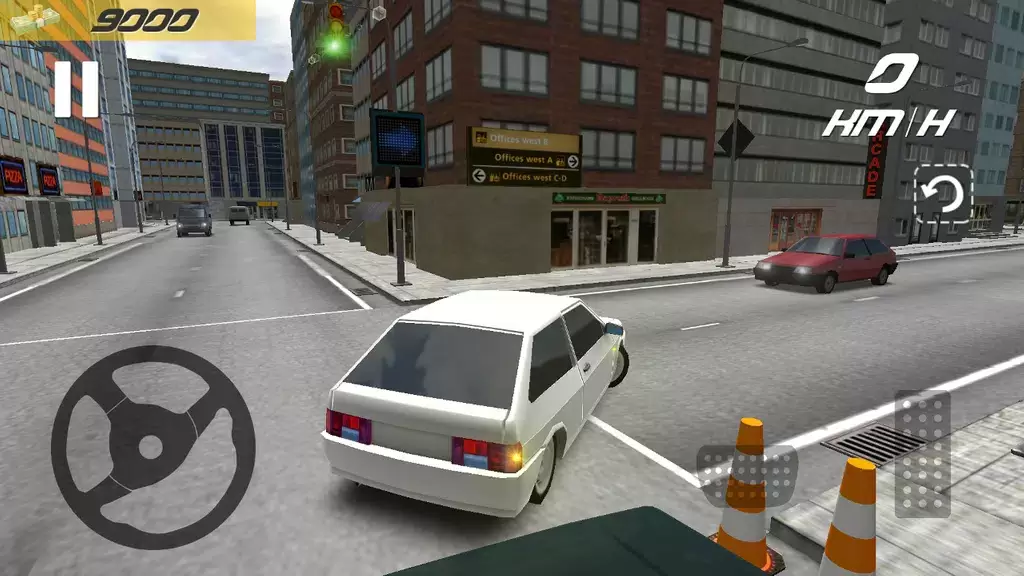
  • Controles fáciles de usar para una experiencia fluida
  • Gráficos de alta calidad y aceleración realista

Conclusión:

Russian Cars: 13, 14 y 15 ofrece una simulación de conducción realista e inmersiva con vehículos rusos icónicos en un entorno urbano. Su motor de física preciso, controles simples y hermosos gráficos se combinan para crear una experiencia de carrera infinitamente entretenida. ¡Descárgalo hoy y comienza tu aventura a la deriva en autos rusos!

Etiquetas : Simulación

Russian Cars: 13, 14 and 15 capturas de pantalla
  • Russian Cars: 13, 14 and 15 Captura de pantalla 0
  • Russian Cars: 13, 14 and 15 Captura de pantalla 1
  • Russian Cars: 13, 14 and 15 Captura de pantalla 2
  • Russian Cars: 13, 14 and 15 Captura de pantalla 3
Últimos artículos
CD > ER > ATK% > Speed (only if needed for turn order) ❌ Avoid: HP%, DEF%, Healing Bonus (unless for a niche support role) 2. Artifact Sets (Recommended) ✅ Best Set (High Burst DPS) 2pc: "The Wasted Heir" (Quantum) 4pc: "The Wasted Heir" (Quantum) Effect: After using an Elemental Burst, gain 30% ATK% and 30% SPD for 1 turn. This stacks up to 2 times. 💡 Why it’s great: Massive burst boost, perfect for a Quantum DPS. The 30% ATK% and SPD boost dramatically increases damage on burst turn. ⚠️ Note: Requires 2-stack management (use burst, then use another ability to refresh the buff). You’ll want to use burst, then normal attack to maintain uptime. 🔁 Alternative (if "The Wasted Heir" not available) 2pc: "Searing Moon" (Quantum) 2pc: "Stalwart and Sojourner" (Quantum) 4pc: "Searing Moon" (Quantum) Effect: After breaking an enemy, gains 20% ATK% and 20% EM (Energy Multiplier) for 2 turns. 💡 Best for: Enemies with high defense or shields, especially in Abyss floors or hard mode. 🔥 High-Efficiency Set (if you need more CDR/ER) 4pc: "The Wasted Heir" (Quantum) 4pc: "The Wasted Heir" (Quantum) + 2pc: "Searing Moon" (if you're struggling with CDR/ER) ✅ Use 2pc: "The Wasted Heir" + 2pc: "Searing Moon" only if you're maxing CDR and want extra EM for Weakness Break. 🛡️ Auras (Emblems) – Aura Selection Note: Auras (Emblems) are passive traits that enhance stats based on character level, rank, and talent level. ✅ Best Aura (Maximize Burst Damage) Emblem: "The Wasted Heir" (Quantum) Effect: After using an Elemental Burst, gain +30% ATK% and +30% SPD for 1 turn. Why: Directly increases damage output on burst turn. ✅ Best for: Single-target burst, boss fights, and hard-mode Abyss. 🔁 Alternative Auras Emblem: "The Wasted Heir" (Quantum) + 2pc: "Searing Moon" (if you want EM boost on Break) Emblem: "Searing Moon" (Quantum) Effect: After breaking an enemy, gain +20% ATK% and +20% EM for 2 turns. ⚠️ Use this only if you're fighting enemies with high defense or shields. 🧩 Talent Priorities Ultimate (Burst): Max as #1 priority (most damage output). Normal Attack: Max to maintain energy and for sub-ability usage. Skill: Max only if it provides useful utility (e.g., energy regeneration, shield, or status effect). Evasion/Defensive Skills: Usually not prioritized unless you’re in a very hard mode or need survivability. ✅ Golden Rule: Burst > Normal Attack > Skill 🎮 Team Synergy Tips Support Pairing: Use a Quantum Break DPS (e.g., Acheron, Yanqing) to trigger Weakness Breaks. Pair with a Debuff/DoT support (e.g., Herta, Pela, Fu Hua) to extend burst uptime. Include a CDR or ER support (e.g., Machina, Setaria) to enable faster bursts. Energy Management: Use characters like Sampo (if available) or Luka to regenerate energy fast. Perfect Turn Order: Place Heirs after your energy regenerator or support, so they can burst immediately. 📊 Final Build Summary Stat Target Notes Main Stat ATK% (if using 4pc The Wasted Heir) Otherwise CR or CD Sub-Stats CR > CD > ER > ATK% > SPD Prioritize CR/CD balance Artifacts 4pc "The Wasted Heir" (Quantum) Best for burst damage Emblems "The Wasted Heir" (Quantum) Boosts burst damage Talents Ultimate > Normal Attack > Skill Max Ultimate first 🏁 Final Thoughts Abyss's Chosen Heirs shines in high-damage burst fights, especially against bosses, elite enemies, and Abyss floors. "The Wasted Heir" set + 4pc emblem is unmatched for Quantum DPS in 5-star tier. Prioritize CR/CD balance, ER for energy sustainability, and team synergy. ✨ Pro Tip: Use "Quantum" or "Break" decks to maximize Weakness Break and burst damage synergy. If you have a specific version of Abyss's Chosen Heirs (e.g., Acheron, Yanqing, or another name), let me know and I’ll tailor the guide exactly to that character. Stay strong, Trailblazer. The Abyss awaits. 🌑⚔️" > Certainly! Here's a comprehensive Stat and Aura Guide for Abyss's Chosen Heirs in Honkai: Star Rail, focusing on optimal builds, stat priorities, and aura (Emblem) selection to maximize damage, survivability, and team synergy.

🌑 Abyss's Chosen Heirs – Overview

Character: Abyss's Chosen Heirs (often known as Heirs or Herald of the Abyss, depending on version)
Path: Destruction (Damage-dealing, burst-focused)
Element: Quantum
Role: Main DPS / Burst Damage Dealer
Team Role: High burst, strong single-target damage, excels against bosses and elite enemies.


Note: This guide assumes you're using the 5-star Quantum DPS character with the signature CD > ER > ATK% > Speed (only if needed for turn order) ❌ Avoid: HP%, DEF%, Healing Bonus (unless for a niche support role) 2. Artifact Sets (Recommended) ✅ Best Set (High Burst DPS) 2pc: "The Wasted Heir" (Quantum) 4pc: "The Wasted Heir" (Quantum) Effect: After using an Elemental Burst, gain 30% ATK% and 30% SPD for 1 turn. This stacks up to 2 times. 💡 Why it’s great: Massive burst boost, perfect for a Quantum DPS. The 30% ATK% and SPD boost dramatically increases damage on burst turn. ⚠️ Note: Requires 2-stack management (use burst, then use another ability to refresh the buff). You’ll want to use burst, then normal attack to maintain uptime. 🔁 Alternative (if "The Wasted Heir" not available) 2pc: "Searing Moon" (Quantum) 2pc: "Stalwart and Sojourner" (Quantum) 4pc: "Searing Moon" (Quantum) Effect: After breaking an enemy, gains 20% ATK% and 20% EM (Energy Multiplier) for 2 turns. 💡 Best for: Enemies with high defense or shields, especially in Abyss floors or hard mode. 🔥 High-Efficiency Set (if you need more CDR/ER) 4pc: "The Wasted Heir" (Quantum) 4pc: "The Wasted Heir" (Quantum) + 2pc: "Searing Moon" (if you're struggling with CDR/ER) ✅ Use 2pc: "The Wasted Heir" + 2pc: "Searing Moon" only if you're maxing CDR and want extra EM for Weakness Break. 🛡️ Auras (Emblems) – Aura Selection Note: Auras (Emblems) are passive traits that enhance stats based on character level, rank, and talent level. ✅ Best Aura (Maximize Burst Damage) Emblem: "The Wasted Heir" (Quantum) Effect: After using an Elemental Burst, gain +30% ATK% and +30% SPD for 1 turn. Why: Directly increases damage output on burst turn. ✅ Best for: Single-target burst, boss fights, and hard-mode Abyss. 🔁 Alternative Auras Emblem: "The Wasted Heir" (Quantum) + 2pc: "Searing Moon" (if you want EM boost on Break) Emblem: "Searing Moon" (Quantum) Effect: After breaking an enemy, gain +20% ATK% and +20% EM for 2 turns. ⚠️ Use this only if you're fighting enemies with high defense or shields. 🧩 Talent Priorities Ultimate (Burst): Max as #1 priority (most damage output). Normal Attack: Max to maintain energy and for sub-ability usage. Skill: Max only if it provides useful utility (e.g., energy regeneration, shield, or status effect). Evasion/Defensive Skills: Usually not prioritized unless you’re in a very hard mode or need survivability. ✅ Golden Rule: Burst > Normal Attack > Skill 🎮 Team Synergy Tips Support Pairing: Use a Quantum Break DPS (e.g., Acheron, Yanqing) to trigger Weakness Breaks. Pair with a Debuff/DoT support (e.g., Herta, Pela, Fu Hua) to extend burst uptime. Include a CDR or ER support (e.g., Machina, Setaria) to enable faster bursts. Energy Management: Use characters like Sampo (if available) or Luka to regenerate energy fast. Perfect Turn Order: Place Heirs after your energy regenerator or support, so they can burst immediately. 📊 Final Build Summary Stat Target Notes Main Stat ATK% (if using 4pc The Wasted Heir) Otherwise CR or CD Sub-Stats CR > CD > ER > ATK% > SPD Prioritize CR/CD balance Artifacts 4pc "The Wasted Heir" (Quantum) Best for burst damage Emblems "The Wasted Heir" (Quantum) Boosts burst damage Talents Ultimate > Normal Attack > Skill Max Ultimate first 🏁 Final Thoughts Abyss's Chosen Heirs shines in high-damage burst fights, especially against bosses, elite enemies, and Abyss floors. "The Wasted Heir" set + 4pc emblem is unmatched for Quantum DPS in 5-star tier. Prioritize CR/CD balance, ER for energy sustainability, and team synergy. ✨ Pro Tip: Use "Quantum" or "Break" decks to maximize Weakness Break and burst damage synergy. If you have a specific version of Abyss's Chosen Heirs (e.g., Acheron, Yanqing, or another name), let me know and I’ll tailor the guide exactly to that character. Stay strong, Trailblazer. The Abyss awaits. 🌑⚔️" onerror="this.onerror='';this.src='/assets/images/morentu/200-200.png'" uk-cover>