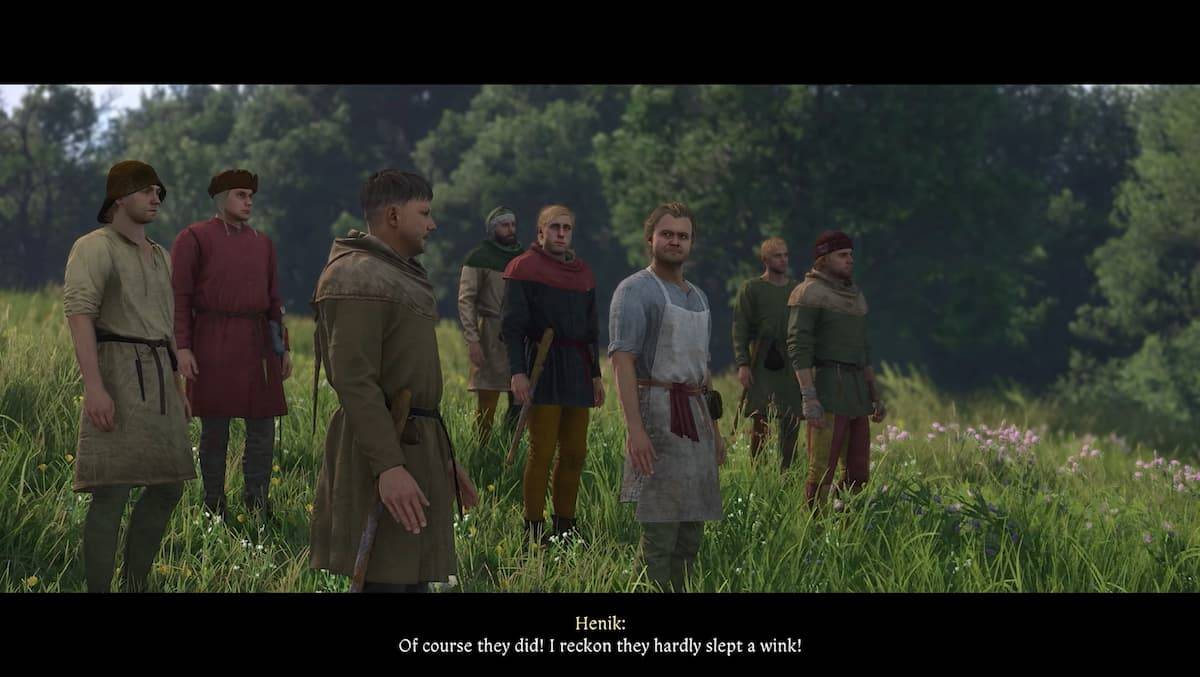
This guide provides a tier list for Zones in Kuroku's Basket: Showdown, a Roblox experience, to help players optimize their gameplay. Zone selection significantly impacts character performance, and this list categorizes them based on overall effectiveness and suitability for different court positions.
Kuroku's Basket: Showdown Zone Tier List
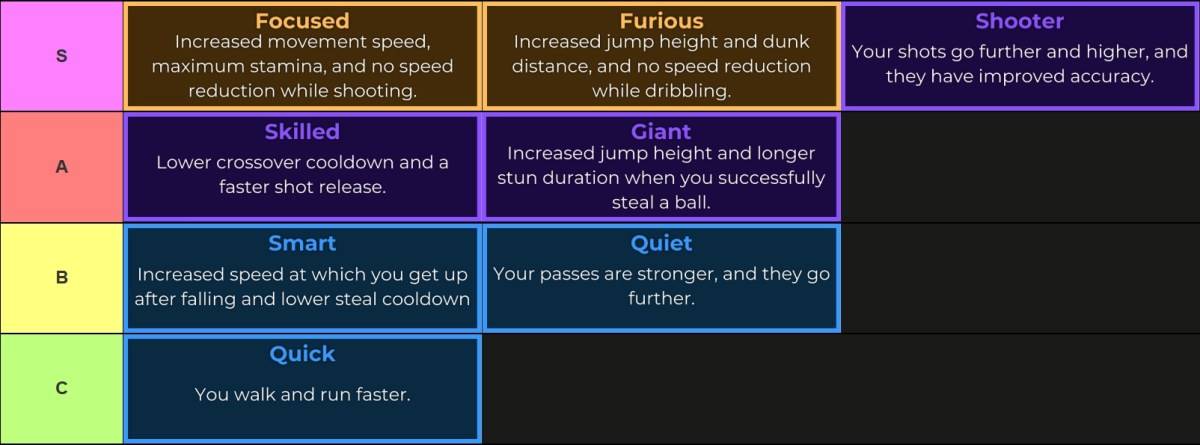
This tier list ranks Zones based on overall power. While rarer Zones tend to be stronger, exceptions exist. For instance, Shooter is exceptionally effective for Shooting Guards (SGs).
Optimal Zones by Position:
- Point Guard (PG): Focused, Quiet, Skilled, Smart, Shooter
- Shooting Guard (SG): Shooter, Focused, Skilled, Smart
- Small Forward (SF): Furious, Focused, Skilled, Shooter
- Power Forward (PF): Furious, Giant, Smart
- Center (C): Giant, Furious
Kuroku's Basket: Showdown Zones: Detailed List
Each Zone provides temporary buffs until its energy depletes. The following table details each Zone's bonuses, description, and tier ranking.
| Zone | Bonuses | Description | Tier |
|---|---|---|---|
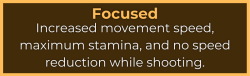 | • Increased movement speed • Increased maximum stamina • No speed reduction while shooting | • Best for PGs and SGs • Excellent for SFs | S |
 | • Increased jump height and dunk distance • No speed reduction while walking/dribbling | • Best for PFs and Cs • Excellent for SFs | S |
 | • Increased shot range, height, and accuracy | • Very strong for SGs and SFs | S |
 | • Increased jump height • Longer stun duration on successful steals | • Excellent for Cs and PFs | A |
 | • Reduced crossover cooldown • Faster shot release | • Good for PGs and SGs | A |
 | • Increased pass strength and distance | • Excellent for PGs | B |
 | • Faster recovery from falls • Reduced steal cooldown | • Very strong defensive Zone | B |
 | • Increased movement speed | • Decent for SGs, PGs, and SFs | C |
Rerolling Zones:
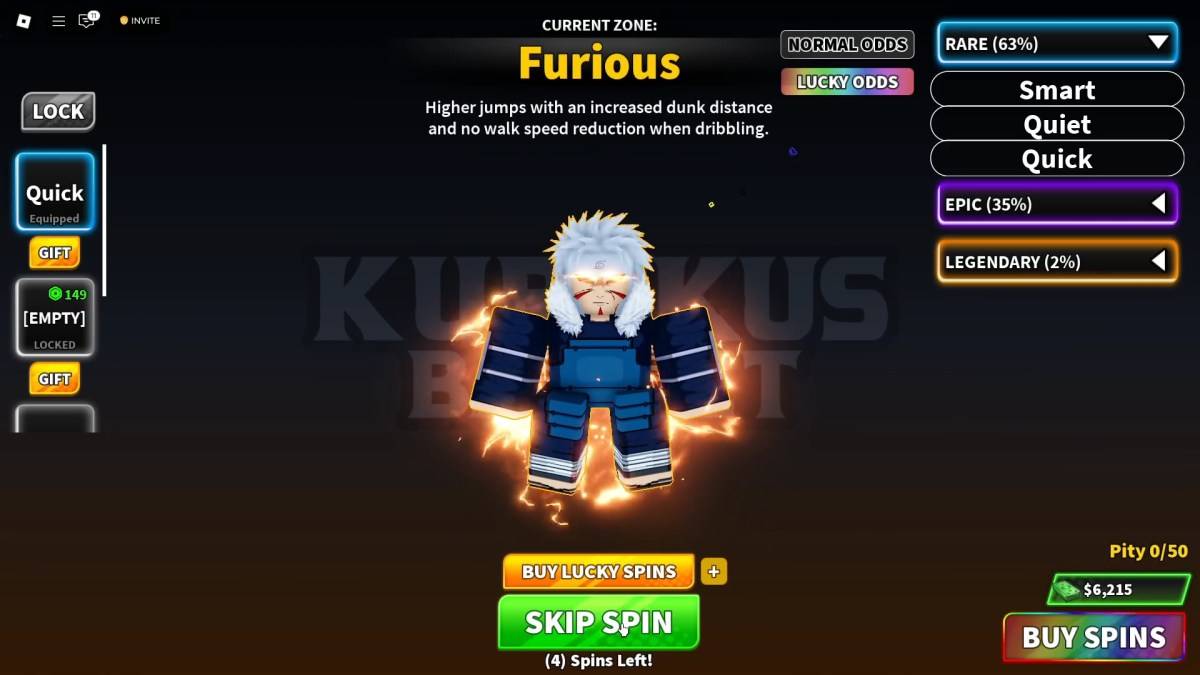
Players can reroll Zones using regular ($2000 in-game currency) or lucky spins (guaranteeing Epic or rarer Zones, obtainable via codes or Robux). Zone storage allows switching between multiple Zones. Consider pairing your chosen Zone with a complementary Style for optimal results (see our Kuroku's Basket: Showdown Style tier list for more information).